Post by torana74 on Oct 11, 2010 1:01:17 GMT -5
These have been out for a little while now and i recently got a kit thinking it will
be great fun to mount a cam and do some aerial vids at the field.
So thought i'd share a little run down of what was involved in the build.
Firstly the box. Must say it is packaged very nicely.


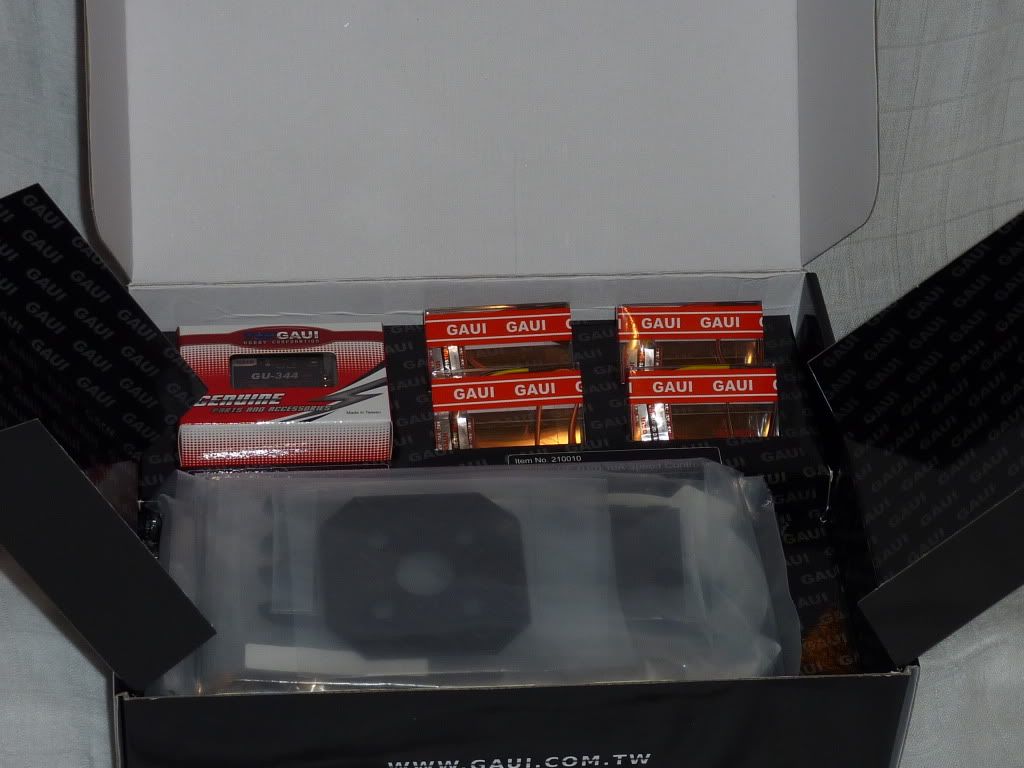
what's in the box
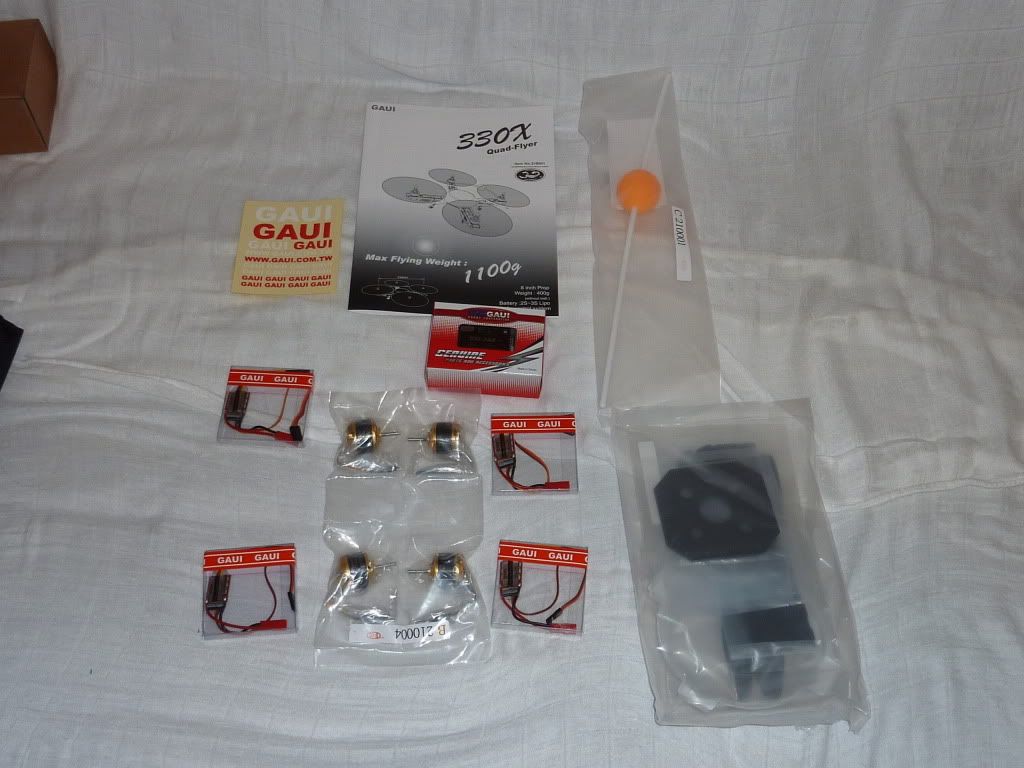
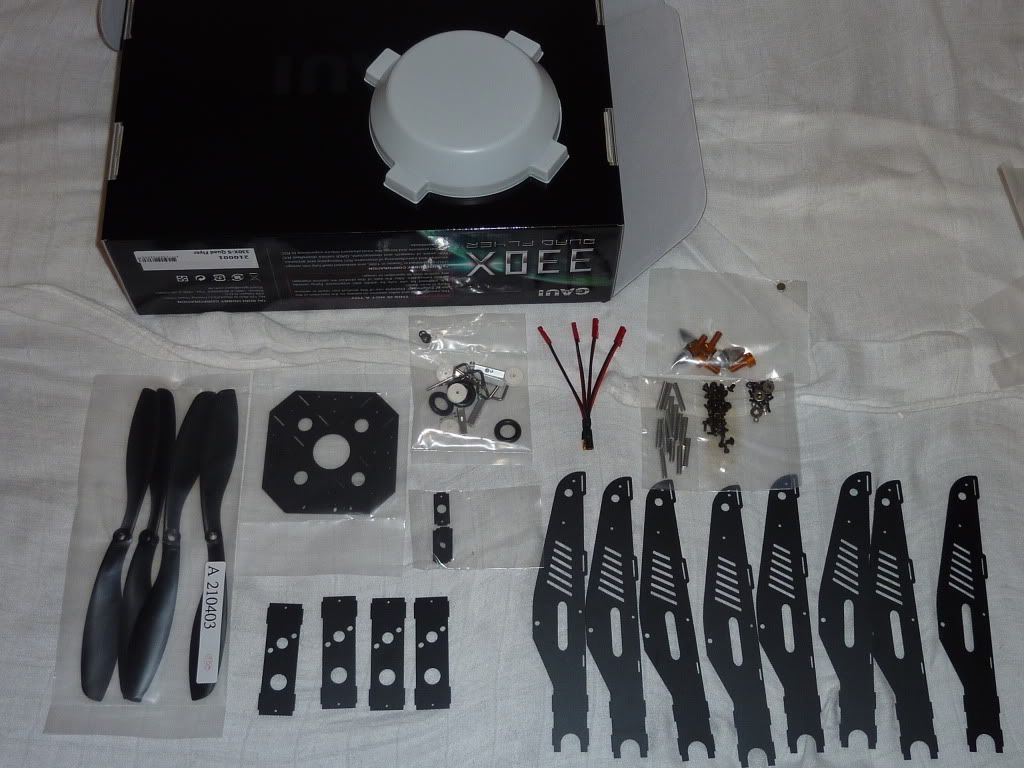
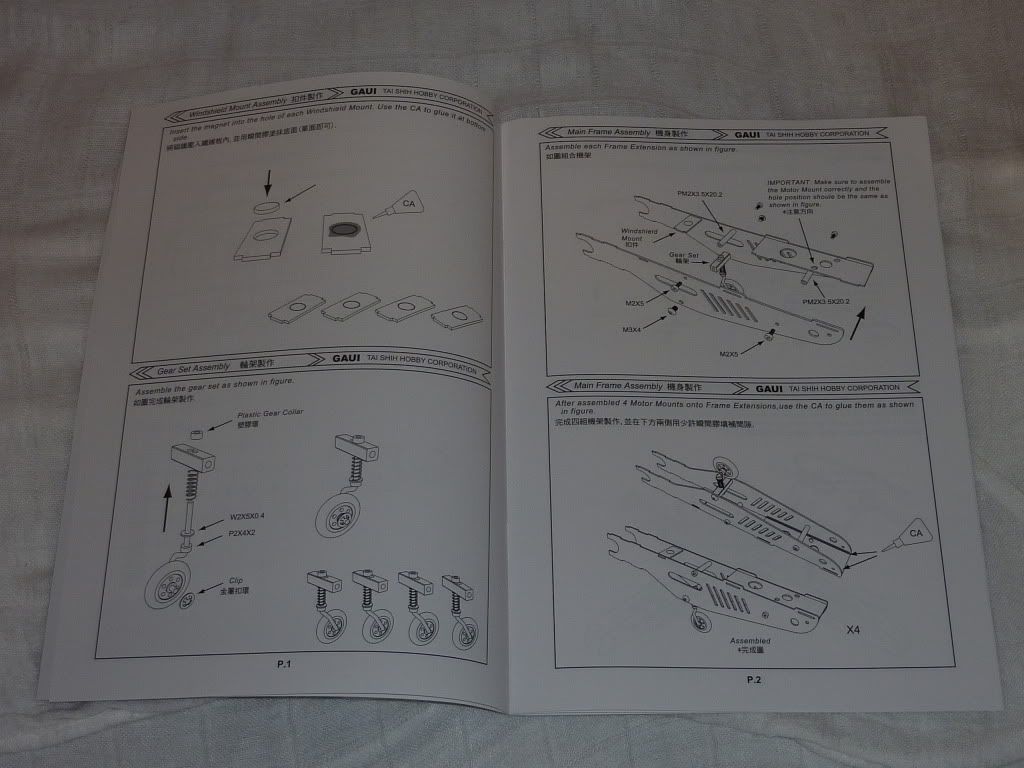
assemble landing gear is first step according to the destructions
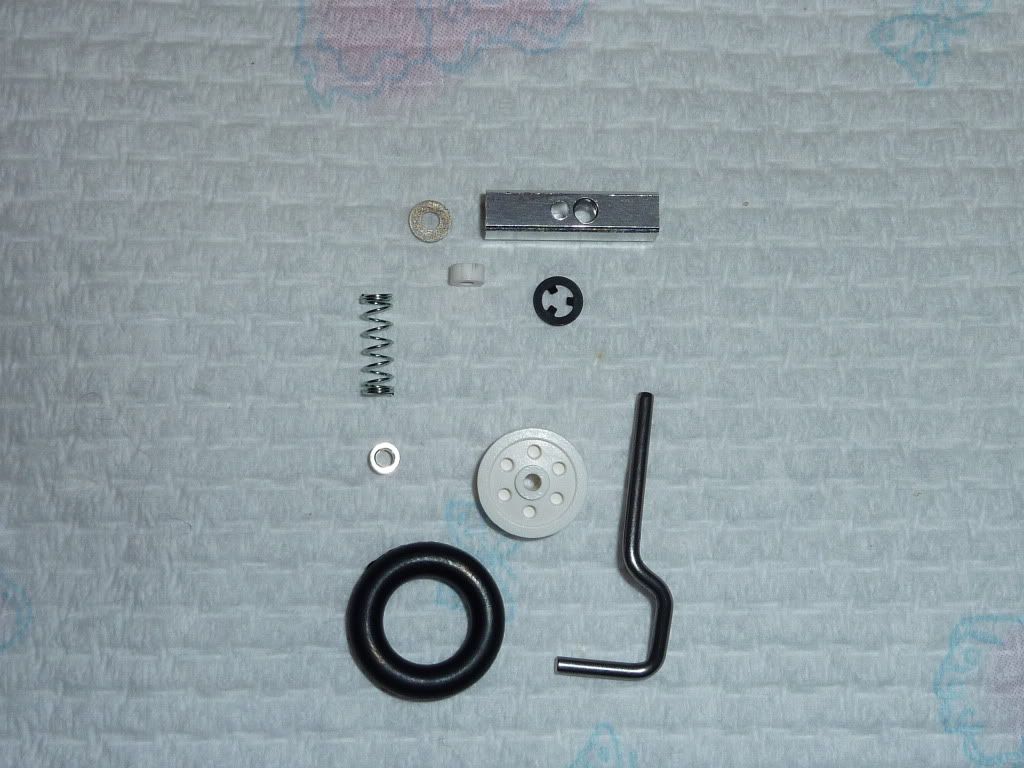
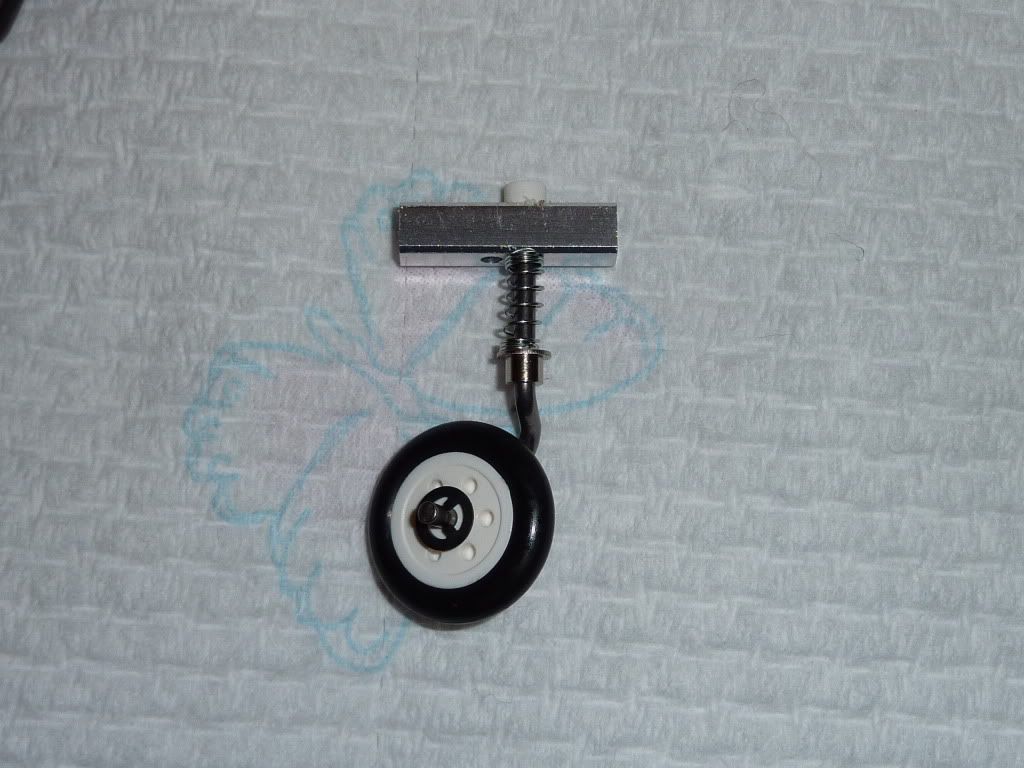
then move onto each arm. There is a magnet to glue onto a bracket that ends up holdong the electronics cover on.
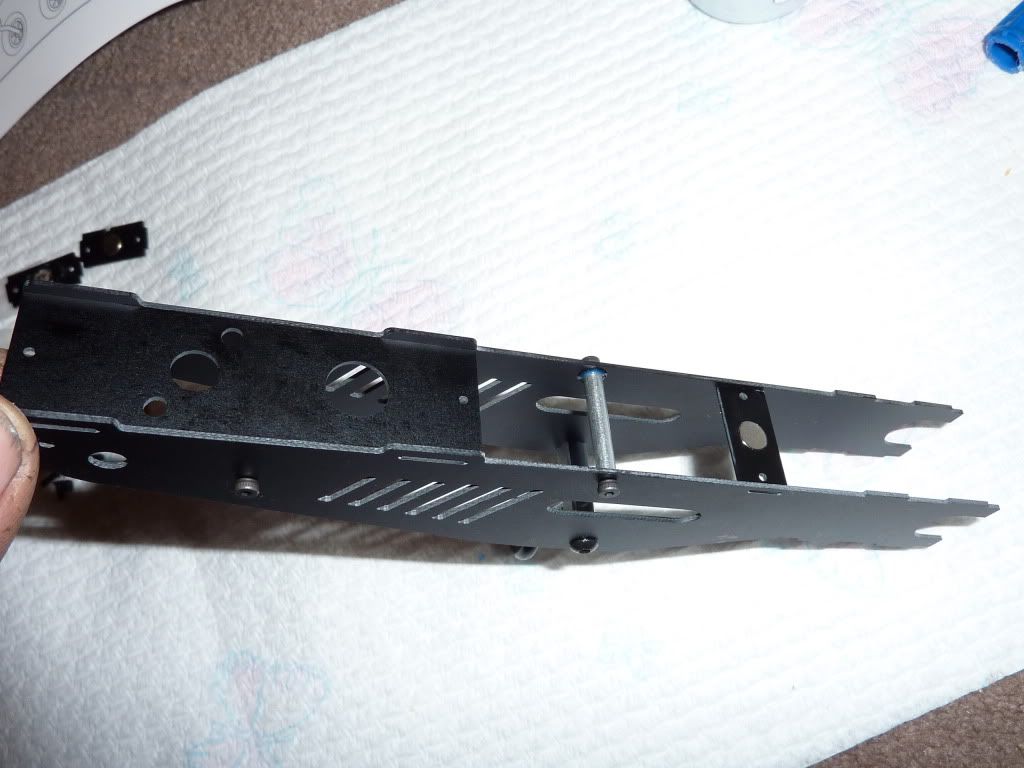
do X 4
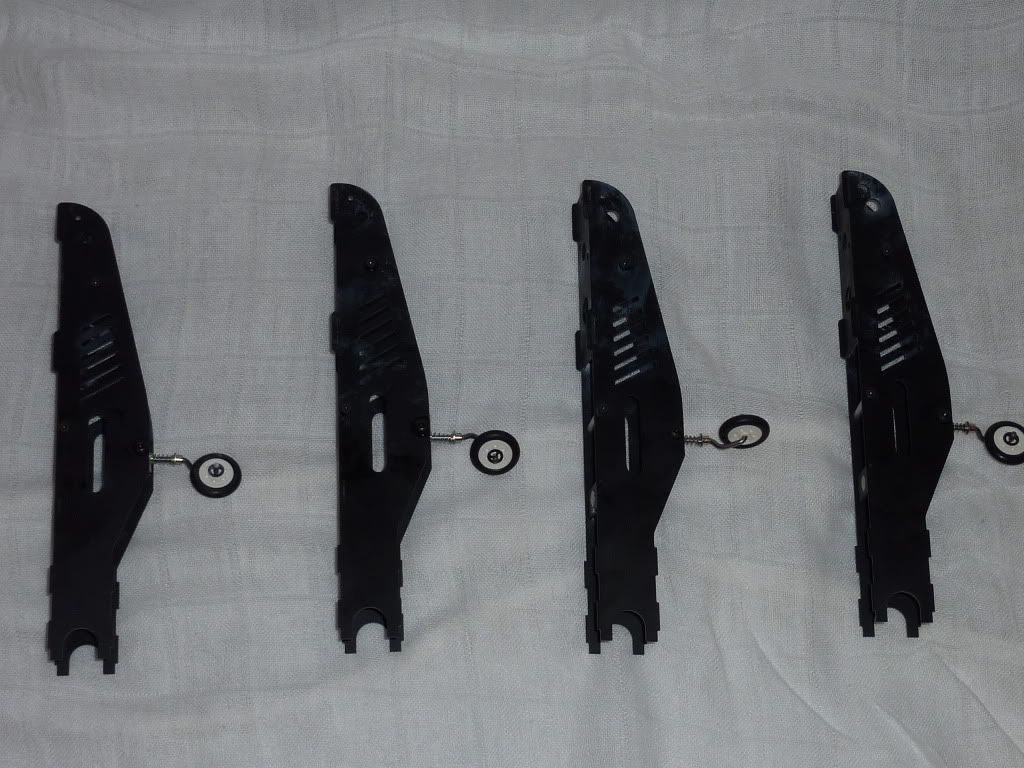
now the central frame
these are tiny screws that hold the spacers
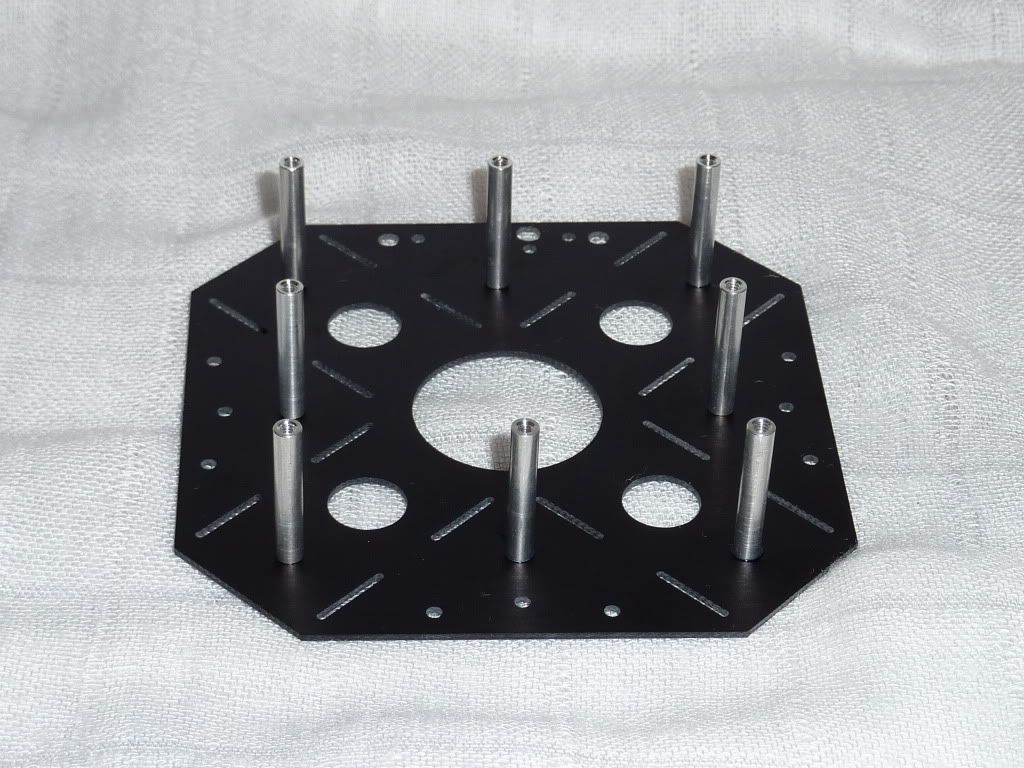
place each arm onto the cut out of the centre hub

screw the top on and you should get this

i realised after the super glue dried, that it leaves white stains on the black plastic. Regular CA didn't
now ready for the electronics. Feed the esc wiring for each motor through the arm and up the centre hub

4 X scorpions sII-2208-1050KV

mount onto end of arm and connect to esc wiring. Note: two wired colour for colour.. 2 wired for opposite rotation

again X4
I then added the prop adapters

mount the supply gyro unit. be mindfall of direction. Mount receiver and wire accordingly

pull the power feeds out the bottom frame and connect bullet terminal adapter

fit props and orientation ball. Note again: there are props A and B for the different rotation.

and then the finished product. You CA washers to the cover and the previously mentioned magnets hold it on quite well

I velcro'd a 3S 2200mah batt to the baseplae
program radio in airplane mode, teach the 4 esc's high/low throttle and have a ball
I'm using the radio at the moment to control hover and cruise mode and have the gear channel assigned to switch between the two
be great fun to mount a cam and do some aerial vids at the field.
So thought i'd share a little run down of what was involved in the build.
Firstly the box. Must say it is packaged very nicely.


what's in the box


assemble landing gear is first step according to the destructions


then move onto each arm. There is a magnet to glue onto a bracket that ends up holdong the electronics cover on.

do X 4


now the central frame
these are tiny screws that hold the spacers

place each arm onto the cut out of the centre hub

screw the top on and you should get this

i realised after the super glue dried, that it leaves white stains on the black plastic. Regular CA didn't
now ready for the electronics. Feed the esc wiring for each motor through the arm and up the centre hub

4 X scorpions sII-2208-1050KV

mount onto end of arm and connect to esc wiring. Note: two wired colour for colour.. 2 wired for opposite rotation

again X4

I then added the prop adapters

mount the supply gyro unit. be mindfall of direction. Mount receiver and wire accordingly

pull the power feeds out the bottom frame and connect bullet terminal adapter

fit props and orientation ball. Note again: there are props A and B for the different rotation.

and then the finished product. You CA washers to the cover and the previously mentioned magnets hold it on quite well

I velcro'd a 3S 2200mah batt to the baseplae
program radio in airplane mode, teach the 4 esc's high/low throttle and have a ball

I'm using the radio at the moment to control hover and cruise mode and have the gear channel assigned to switch between the two


