Post by torana74 on Oct 10, 2010 0:47:02 GMT -5
Thought it would be useful to have this in here too.
Enjoy and please if any questions, just yell out.
....................................................................................................
Been sweating on this for a while and finally it's here.
Huge thanks to Empire Hobby for their terrific effort in
getting a pre-release kit sent to Oz. Feel very proud to be one of the first
to have these. It is nice to know that we down here mean as much to the
manufacters as the other parts of the globe.
Will start the build tonight and try to document as well as poss.
I will be editing this post as new pics/info etc come along.
Most likely will be going over bits and writing more, so keep checking here.
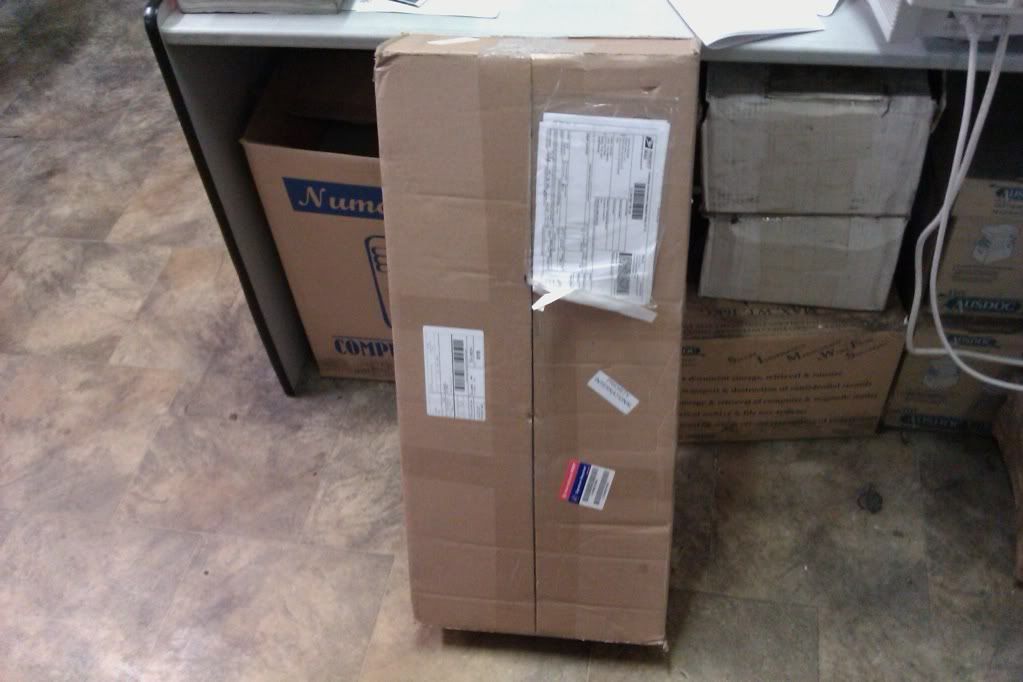
For now, some pics of the box Very happy chappy today
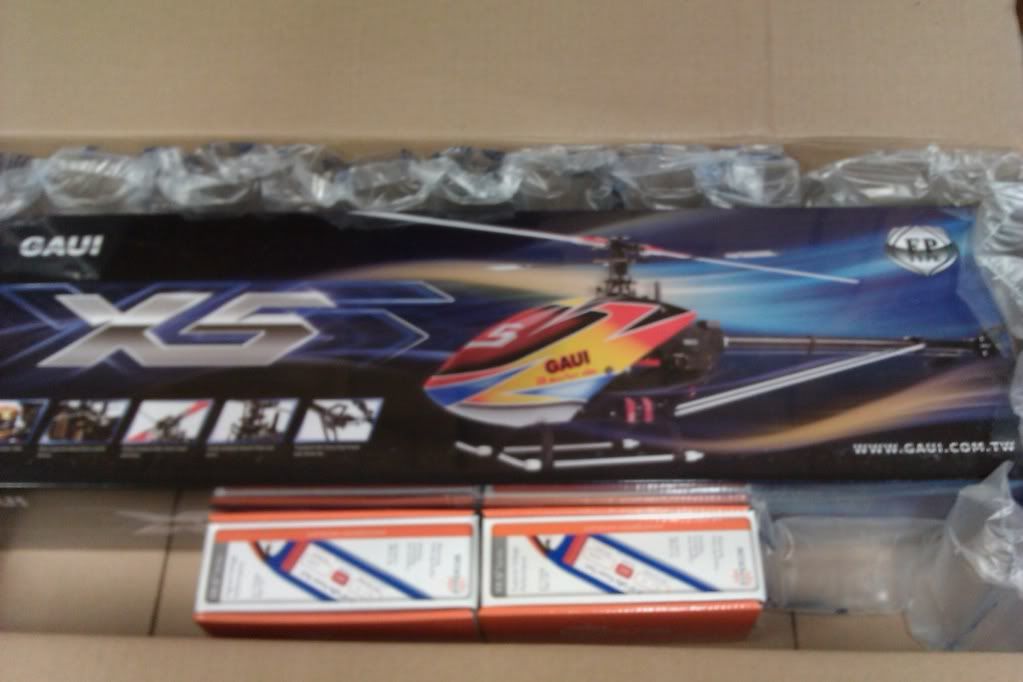
A few "What's in the box pics"
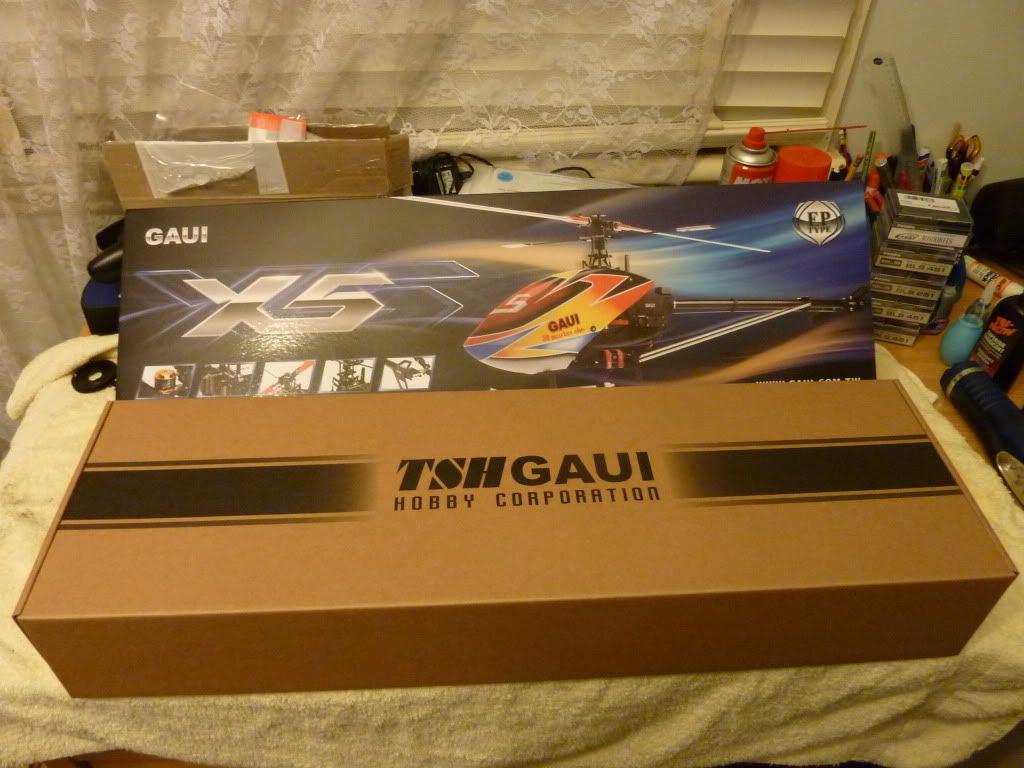
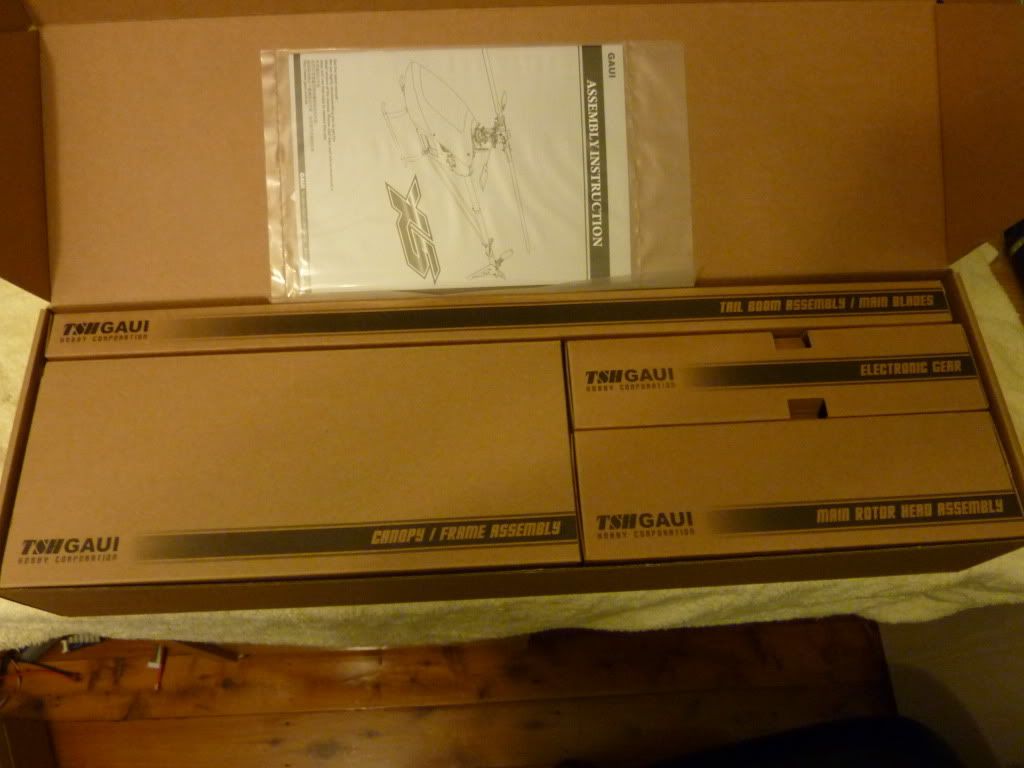
I must say that i'm very impressed with the presentation of this. Nicely
fitting sub-boxes all printed with what's inside
The instruction manual was sitting right on top. ie read this first!!
They are trying to take my fun away
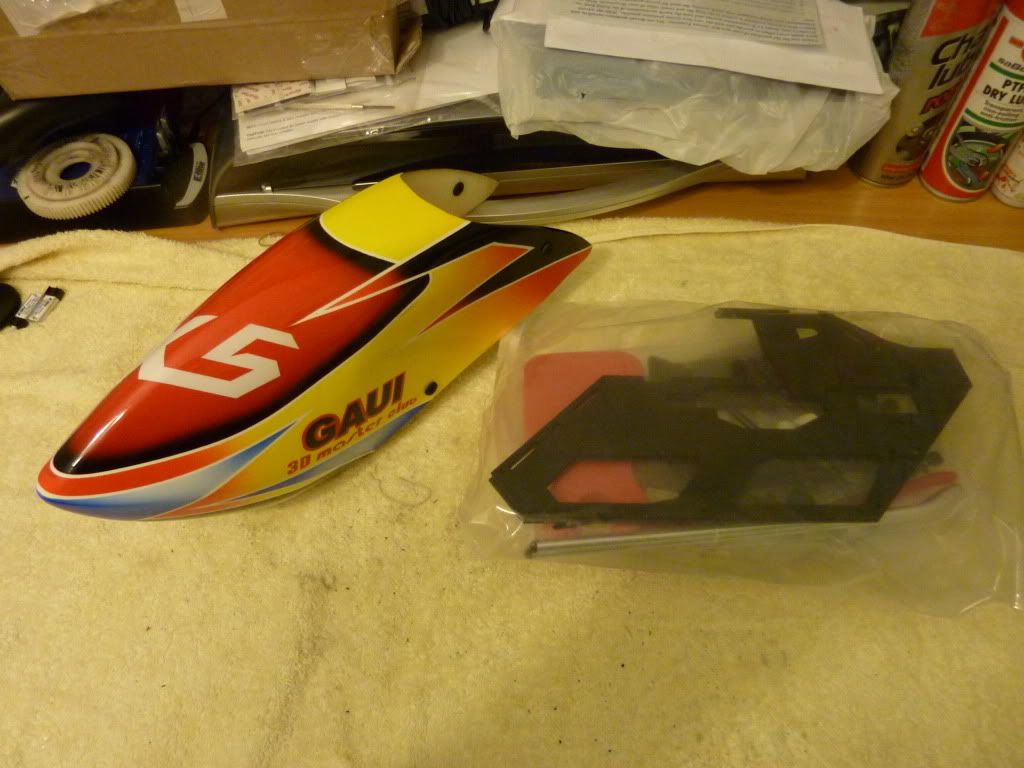
The bag bits unlocked.
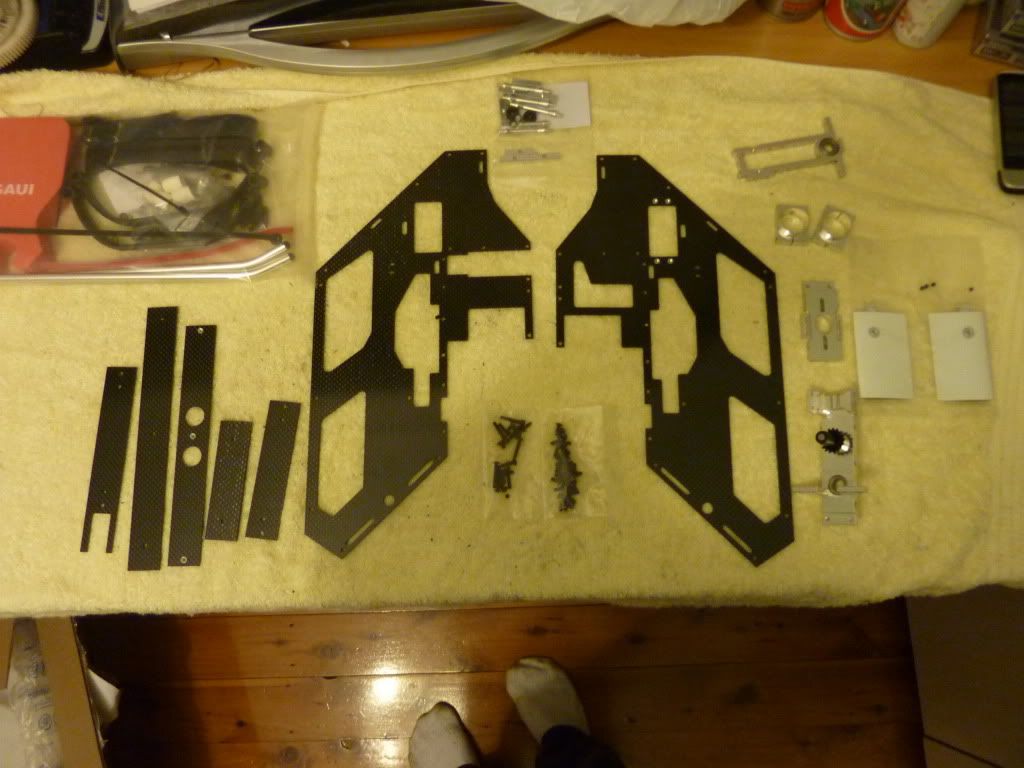
The CNC work looks quite nice. Very smooth and neat.
I'm not sure about the motor mount.Looks like they stayed the way of the
Hurricane and can be a bit fiddly to set mesh. Requires the mount to be removed to access the bolts for the motor. No biggie,but could have been improved. But i still haven't read the instructions

More to come...... Stay tuned, don't change channels
Putting the frame together was a super simple and very quick affair.Was together in less than half an hour.(with coffee)
Even the wife commented on how quick it was...... something like, you won't have to worry about time after your crashes with this...
The instructions are well written but do need some work. Would be nice if the frame assembly pic was larger and easier to work out were the few different bolts went. Again no biggie as most bolts are M3x 6mm , just 2 are 4mm.
Common sense works and is very easy to see one bolt will go into a bearing if too long.
The instructions seem to bounce around. No real order. If you are up to a certain spot, need to flick through the
manual to find what you are seeking.
Also noticed a little piece of paper in with the bolts. An ammendment to the manual regarding a washer for the lower canopy mounts.
The manual does state on the front cover to download the latest version.
Also in my travels, i noticed that not all bits in frame box are for the frame(as i thought and got concerned when a few screws were left over) and needed to open other boxes to find required bits.Obviously packing requirements have dictated the spread of parts throughout the various boxes.
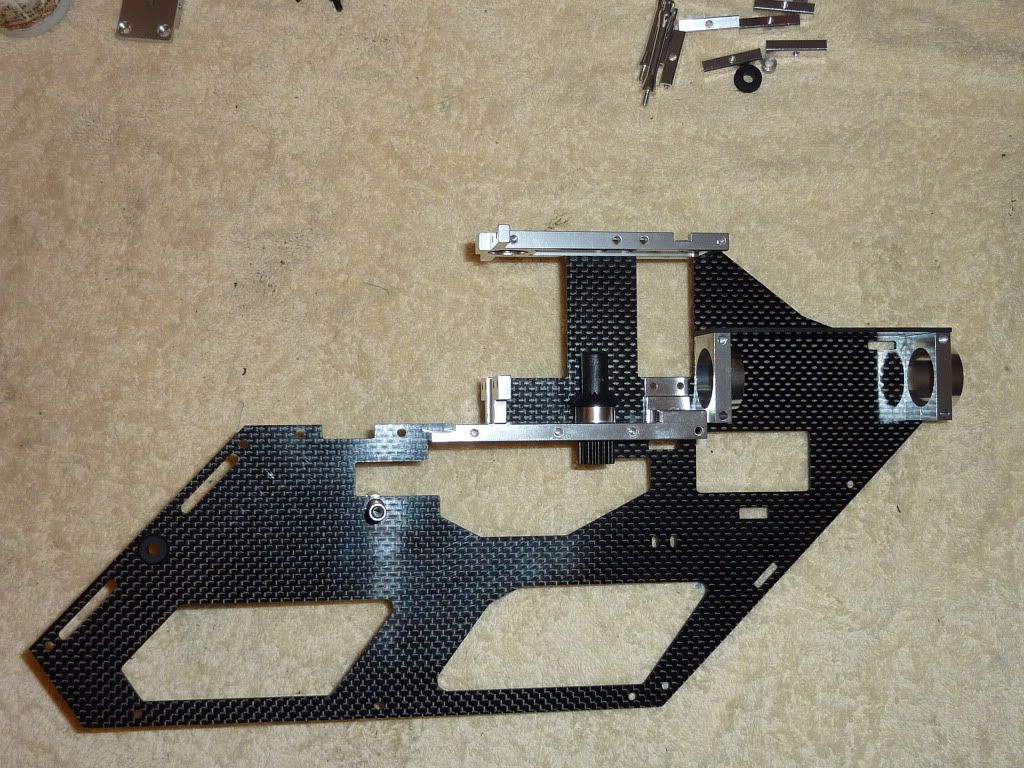
Pic of cnc bits mounted to one side frame
Pic of landing gear assembly.

The actual legs are the same as the Hurri 550,but now only use one bolt per leg to mount to the lower frame.
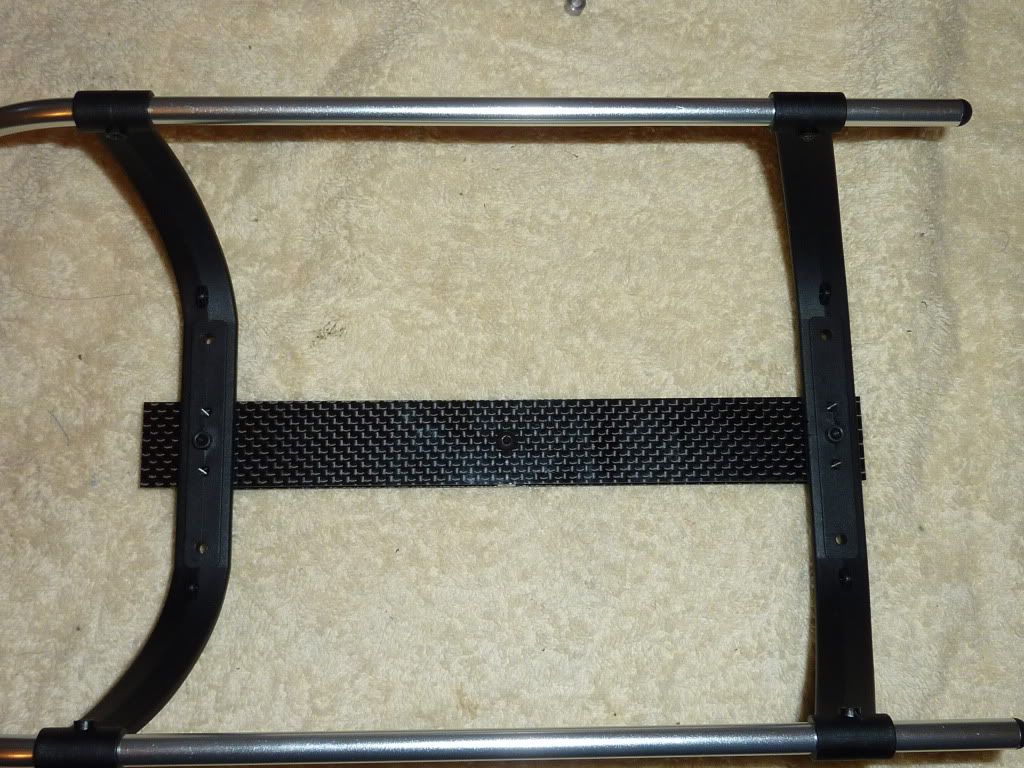
I do like the chrome skids and think they will be replacing all my others.To replace the landing gear in the future would just require the removal of 2 bolts and out it comes. I'm really liking the base of this heli.The double carbon keeps it very rigid, there are no tabs etc waiting to break, and from experience, the legs will give way in hard landings lessening the load to the frame.
The manual states to put the landing gear together first, then mount to the main frame. I did for the pics but originally did the lower frame/main frame together and found it less fiddly.
Completed main frame and landing gear about to meet.

To say this frame is thin is an understatement.
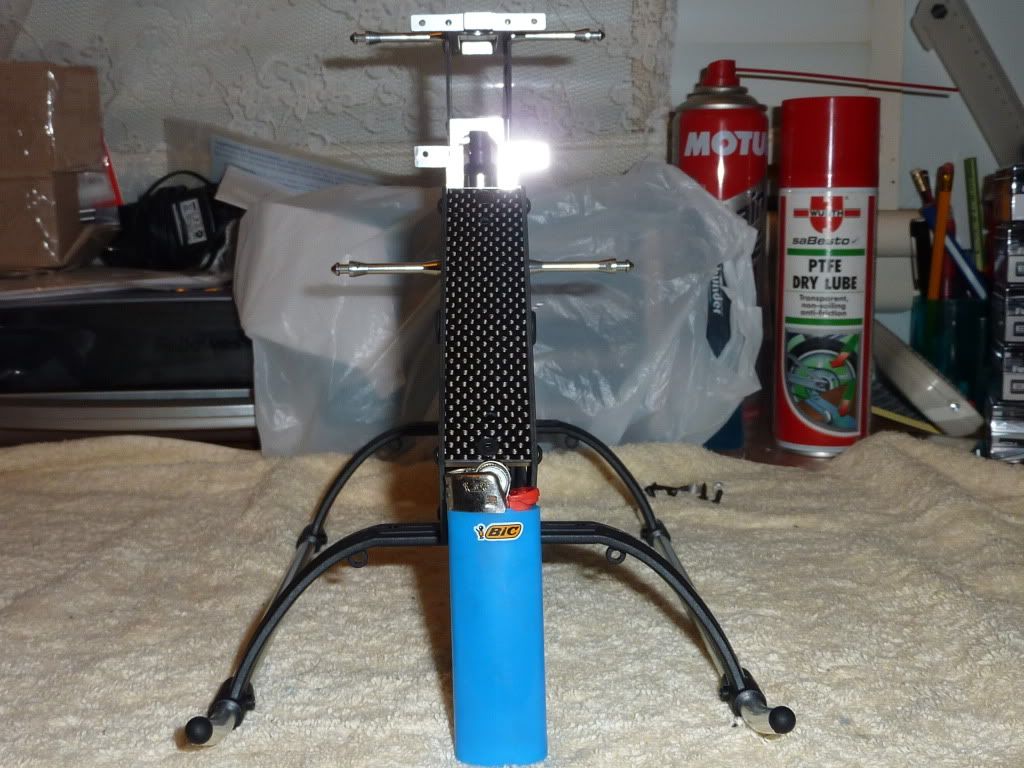
It really has been a very low parts count in the frame assembly and it weighs almost nothing
 [
[
The main gear/ head assembly.
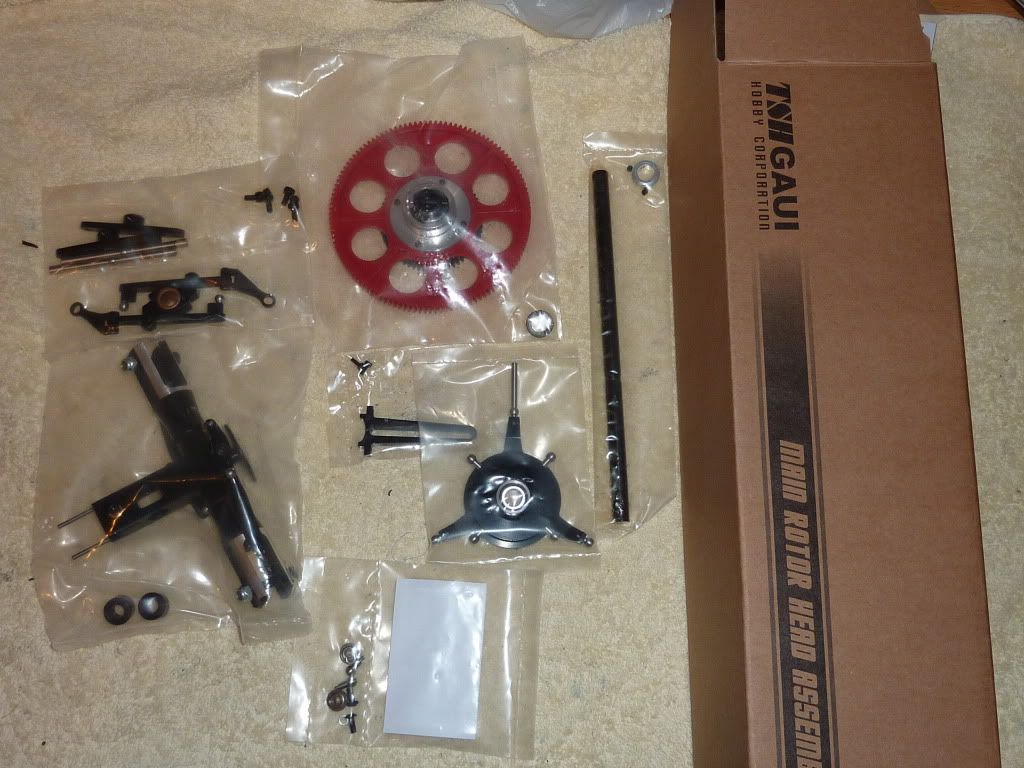
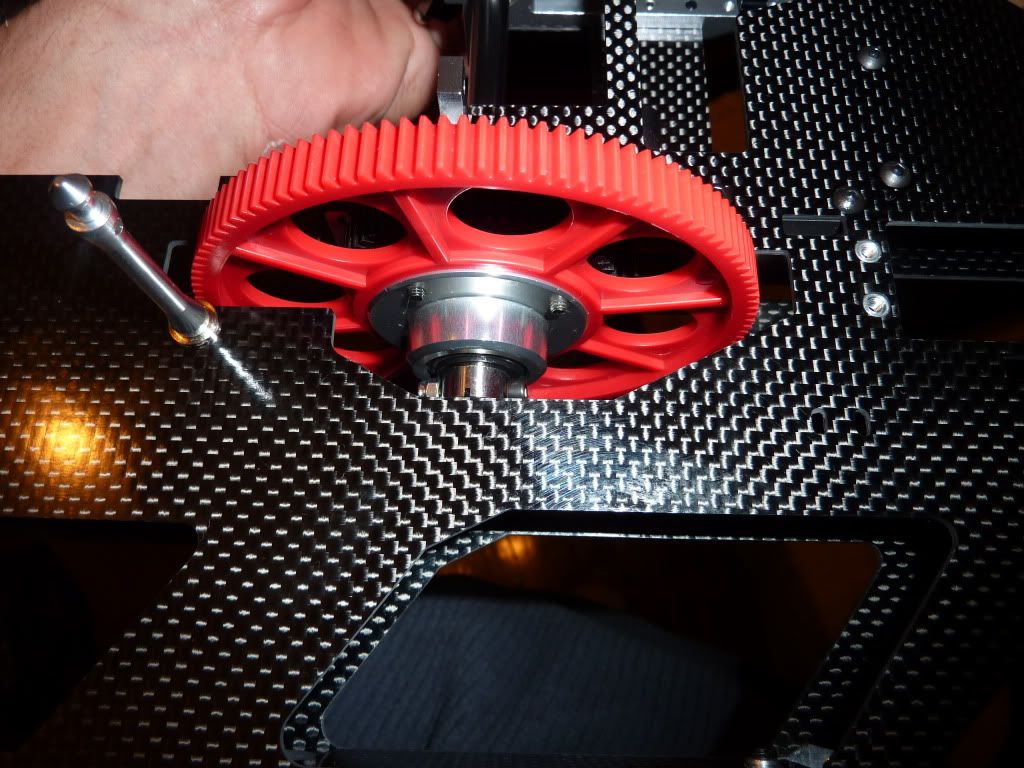
The maingear/tail drive/one-way came preassmbled. 3 screws hold the 61tooth tail drive gear(ex Hurri main gear) onto the sleeve that goes through the one-way bearing.
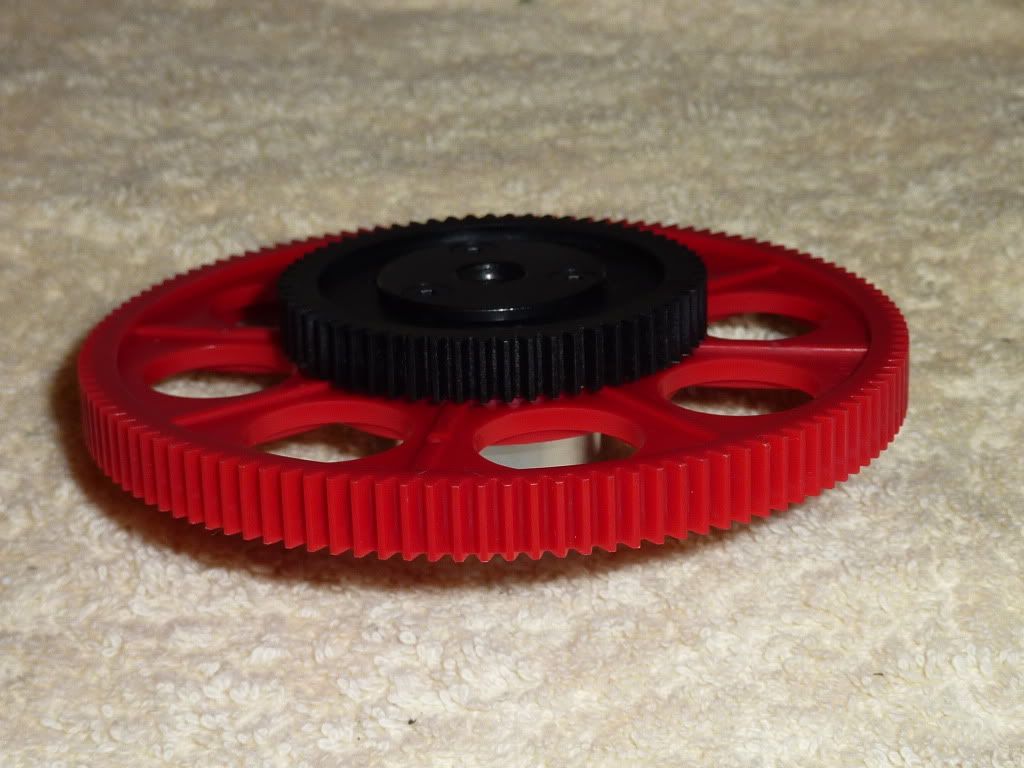
The main gear has 4 screws that bolt to another housing that holds the one-way.
(pics didn't come out i noticed,so will dismantle again tomorrow and take again)
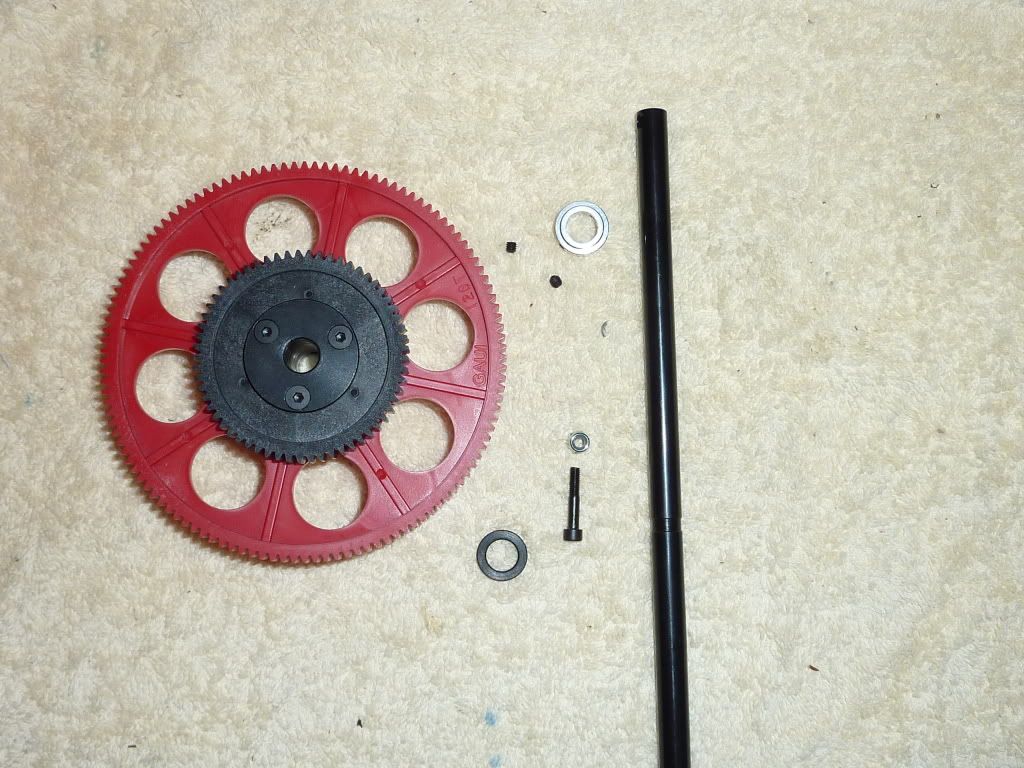
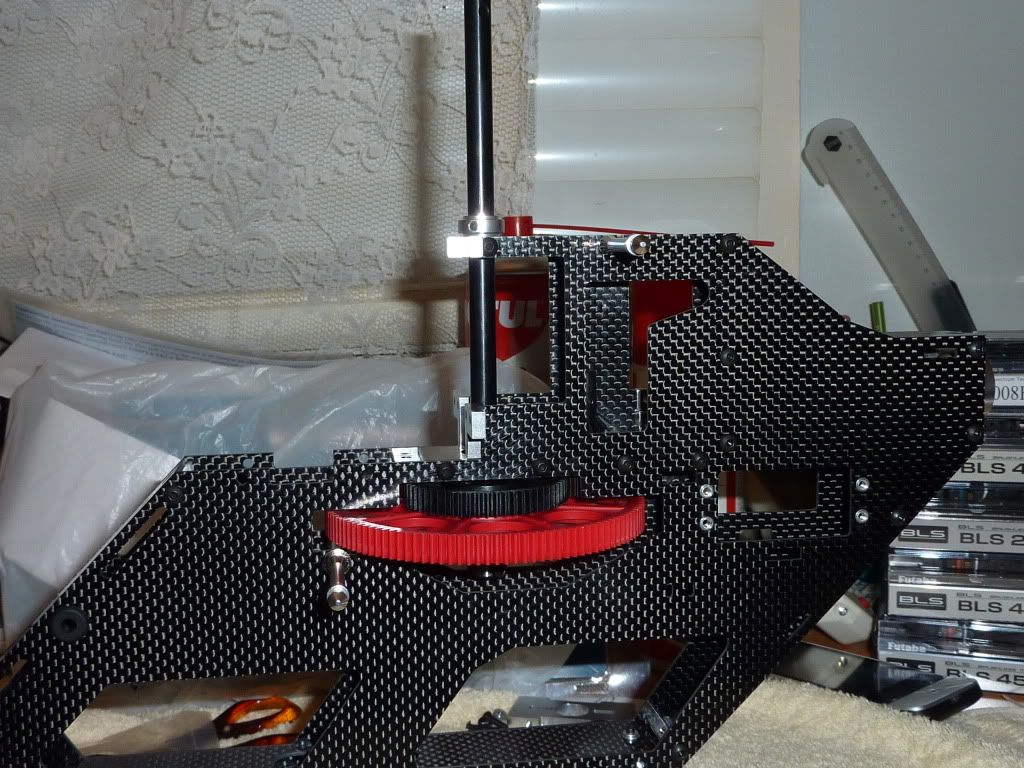
Main gear/shaft assembly bits. The little washer sits on top of the tail drive gear and under lower mainshaft bearing.Collar on top of upper mainshaft bearing.
Mainshaft is solid,8mm diameter.
Installed in the frame.Trick here is to make sure no up/down movement when tightening the collar
Moving onto the head assembly.
Having been used to the Hurri 550 head and sizing, all i can say is WOW.
The swash on the left is the X5 ,right Hurri 550.
The X5 swash certainly looks the goods and has a nice feel .
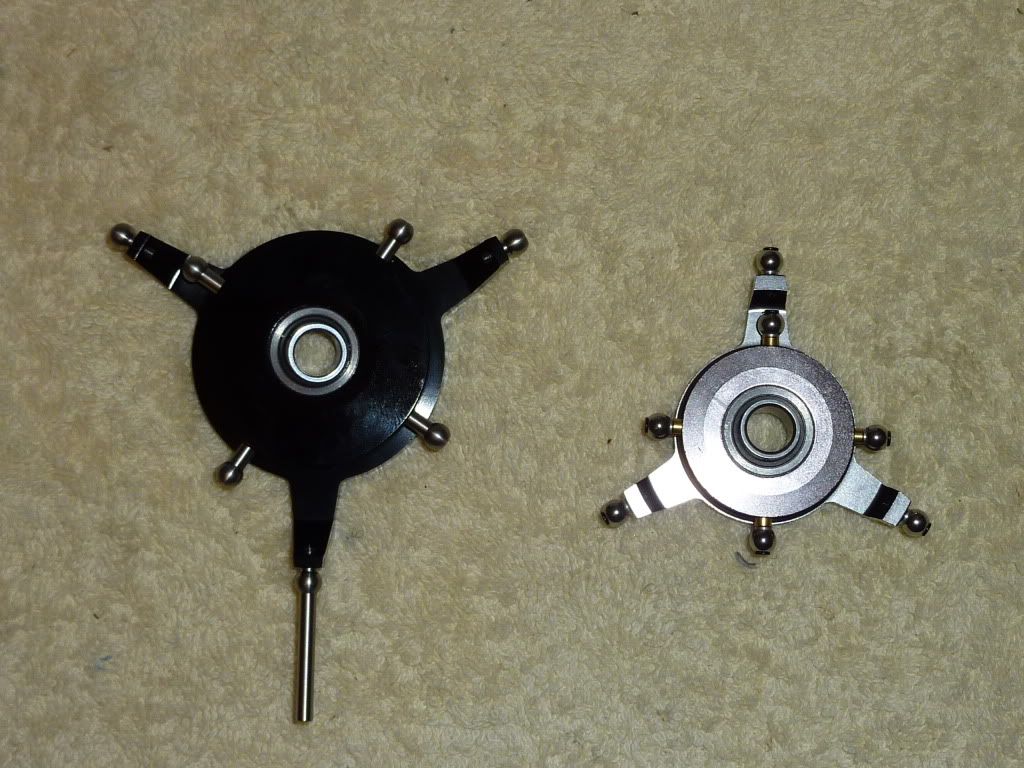
All the balls have 1.5mm allen key heads in them and were tight and pre-locitited.
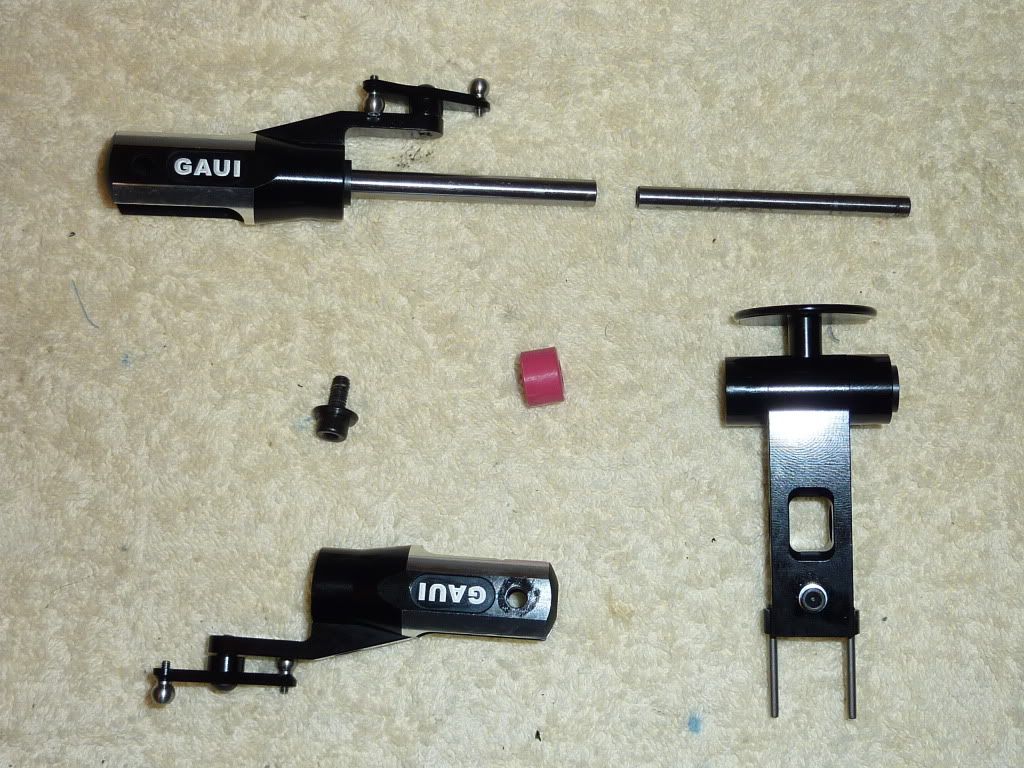
The head came pre-assembled but i took it apart for check.
The spindle is 6mm, and the dampers are cylinder shaped.
There were "red" dampers installed but i noticed in the packs that there
is a black set. Doesn't mention it in the manual as what's what.
I have left the red in there for the time being.
Also the bolts that hold the blade grips onto the spindle are larger than previously.Everything was tight and loctited.
The spindle on the right is Hurri 550(5mm)
The flybar carrier was next. This was another with the little piece of update paper.(washer installation behind bolt head).
In my previous Gaui builds, i have had issues with bearing quality. These feel terrific and the bearing sit in the headblock.
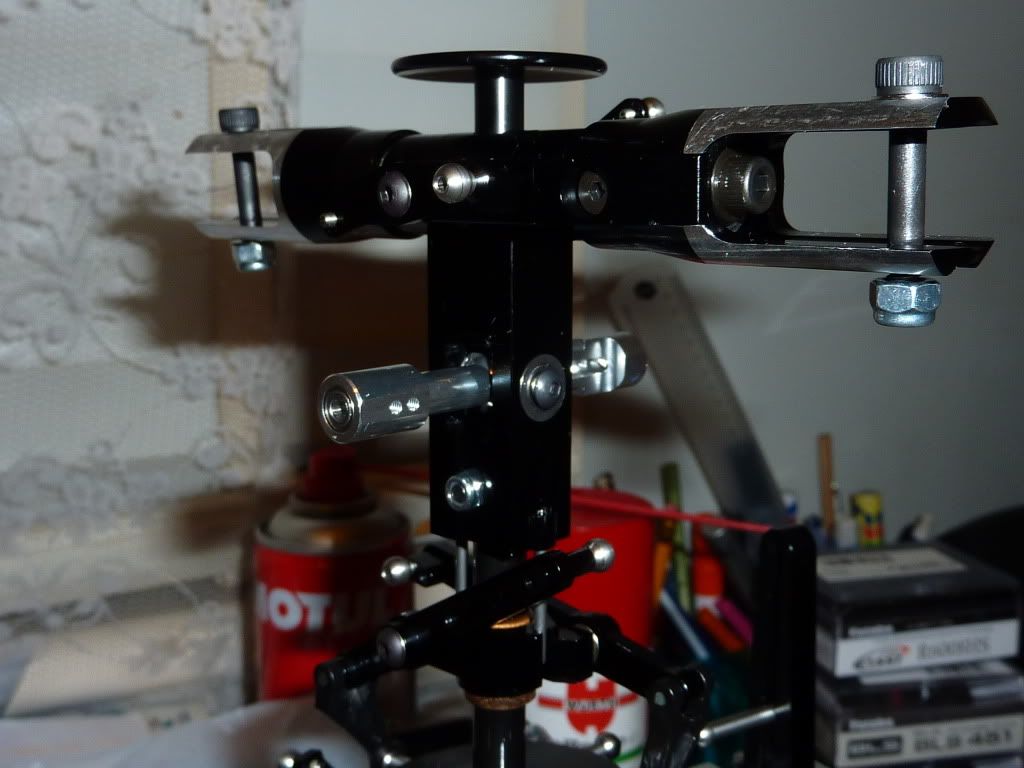
Flybar cage, washout arms/flybar installed
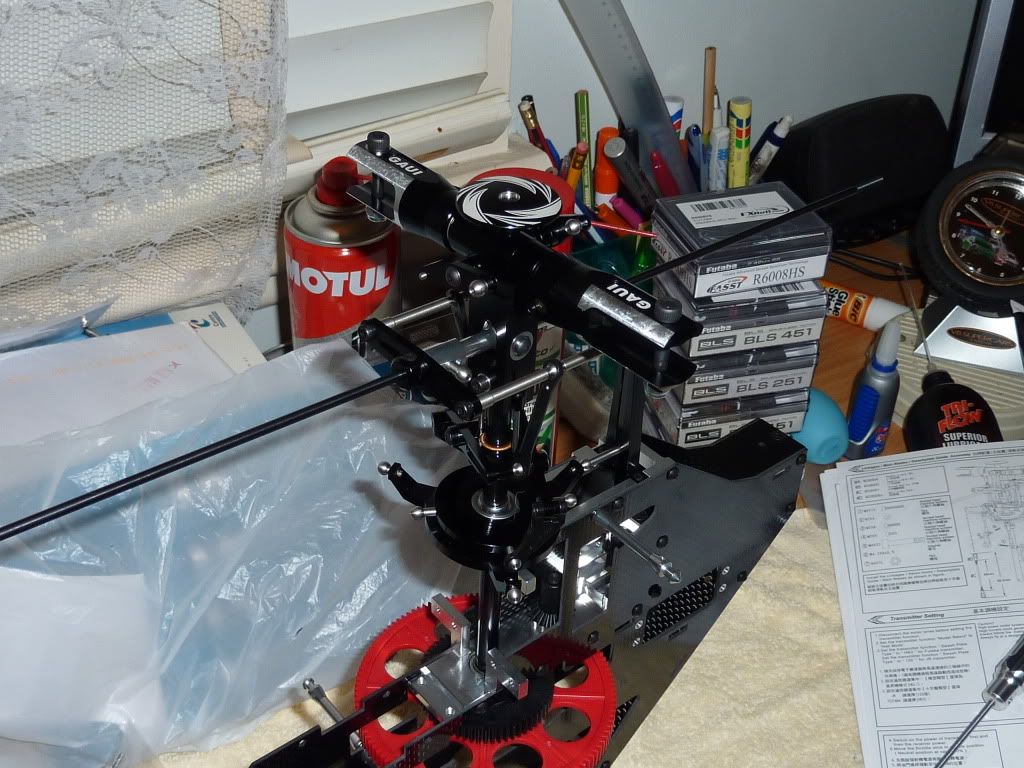
Looks like Gaui have been watching people's tricks in increasing pitch and avoiding binding. Different to see the flybar visible through the seesaw.
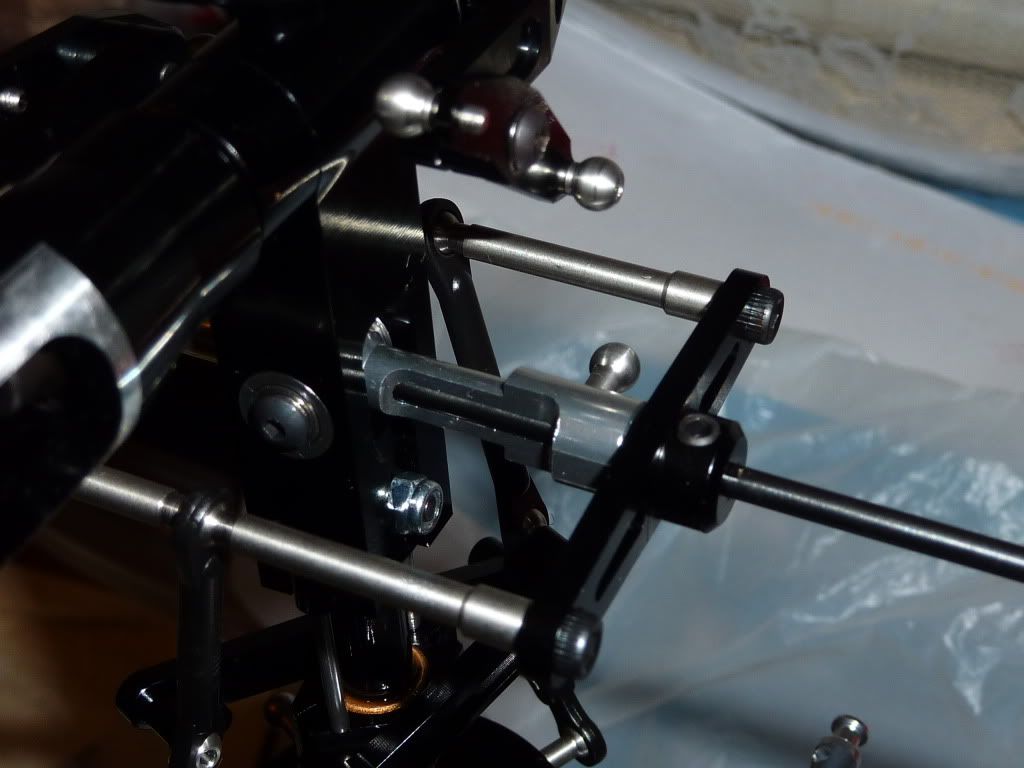
edit: the red dampers are 95's and the black are 75's in hardness
Again we see Gaui using the solid plastic double links. Two sizes. A 30 and a 35. Some people i've come across don't like the double link and say they prefer adjustable ones to help get the setup correct.
In my opinion they are great. One less variable to worry about and if you need adjustment in these areas, hate to say but you would have an issue somewhere else that is causing it.
I do like that Gaui include a spare link of each size, spare rods and ball links,guide, bolt.
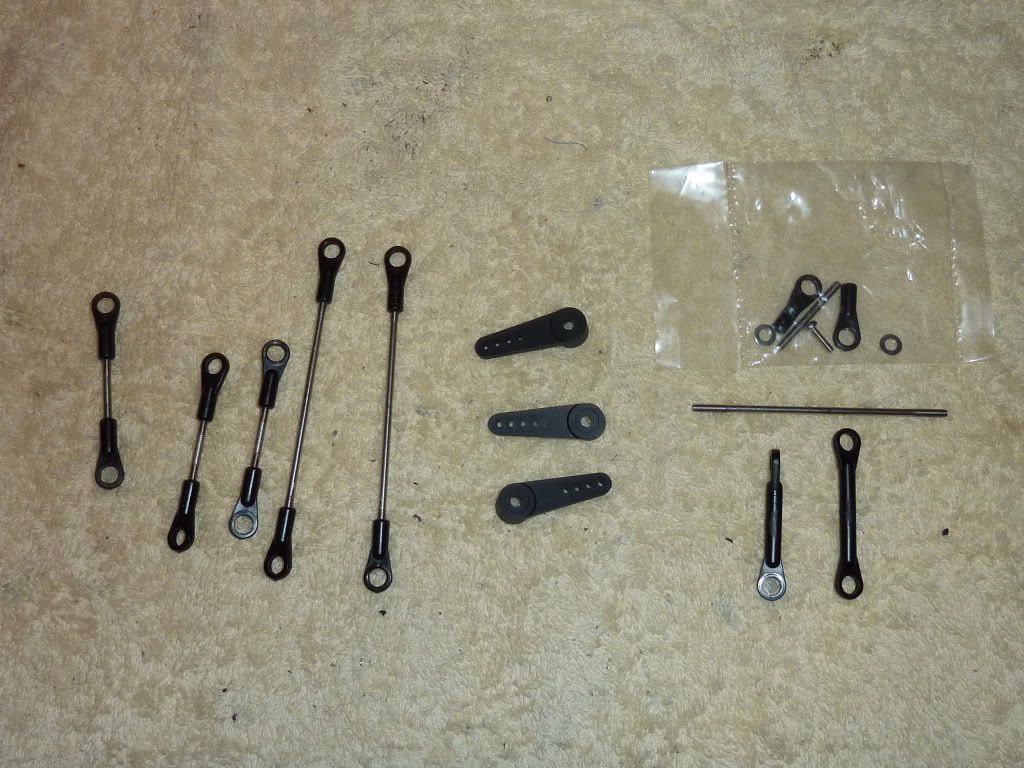
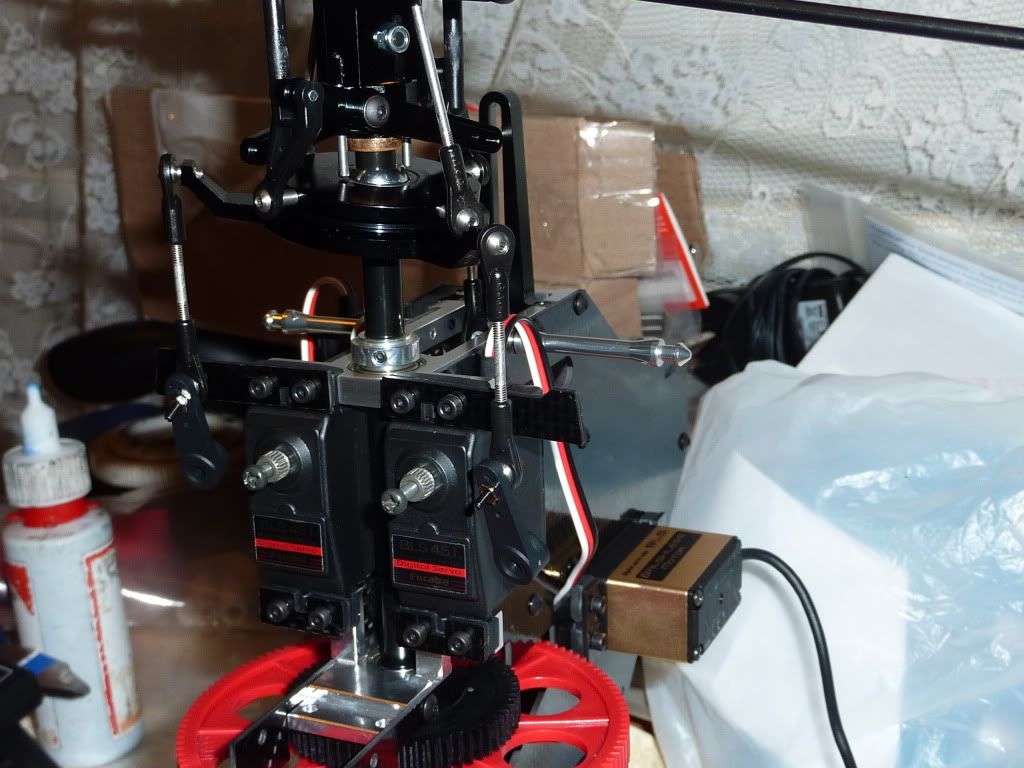
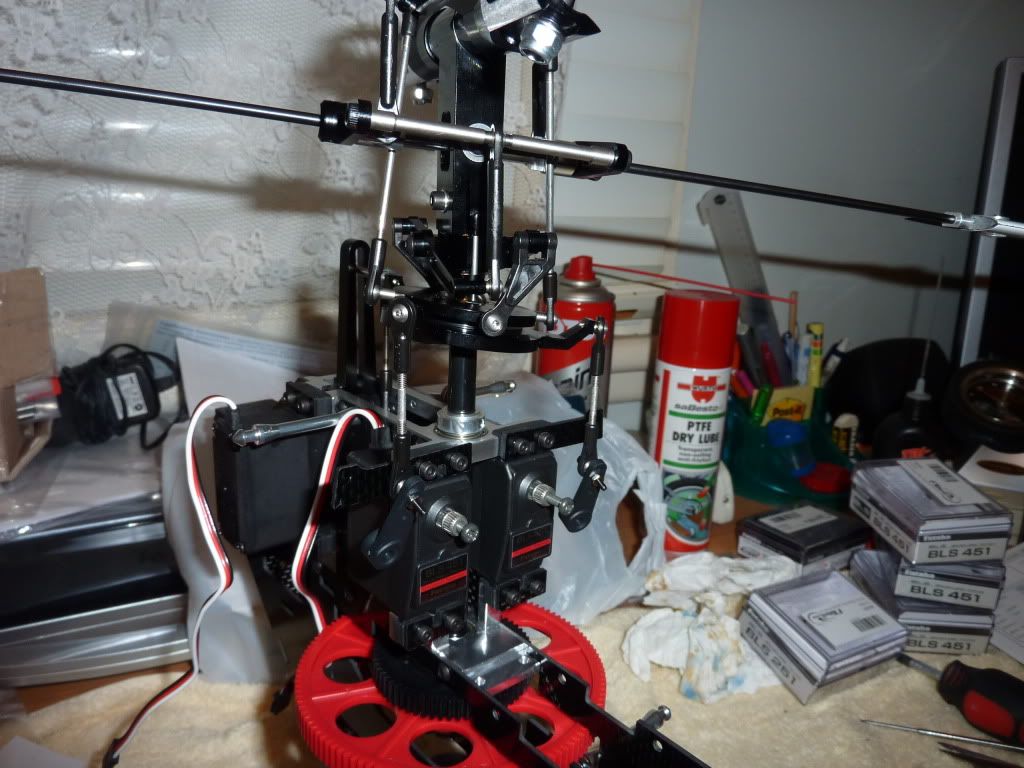
The servos chosen for this build are the BLS451/251 combo. Included in the kit are 3 servo horns(luckily futaba spline), balls,nuts and bolts and assorted little spacers to get the balls spaced correctly.
Also carbon servo retaining plates.The top plates extend out.I'm guessing for a little added protection and to keep the canopy from rubbing on the servo horn.
I've never been a fan of servos out in the open and have looked at possible crash damage. The aileron/pitch servos are fairly well hidden. The elevator and tail are fully extruded. Looking at it closely though, it really would have to be the perfect angle and a few things bent(ie really really hard stack) for them to see damage. One of those we'll have to see things.
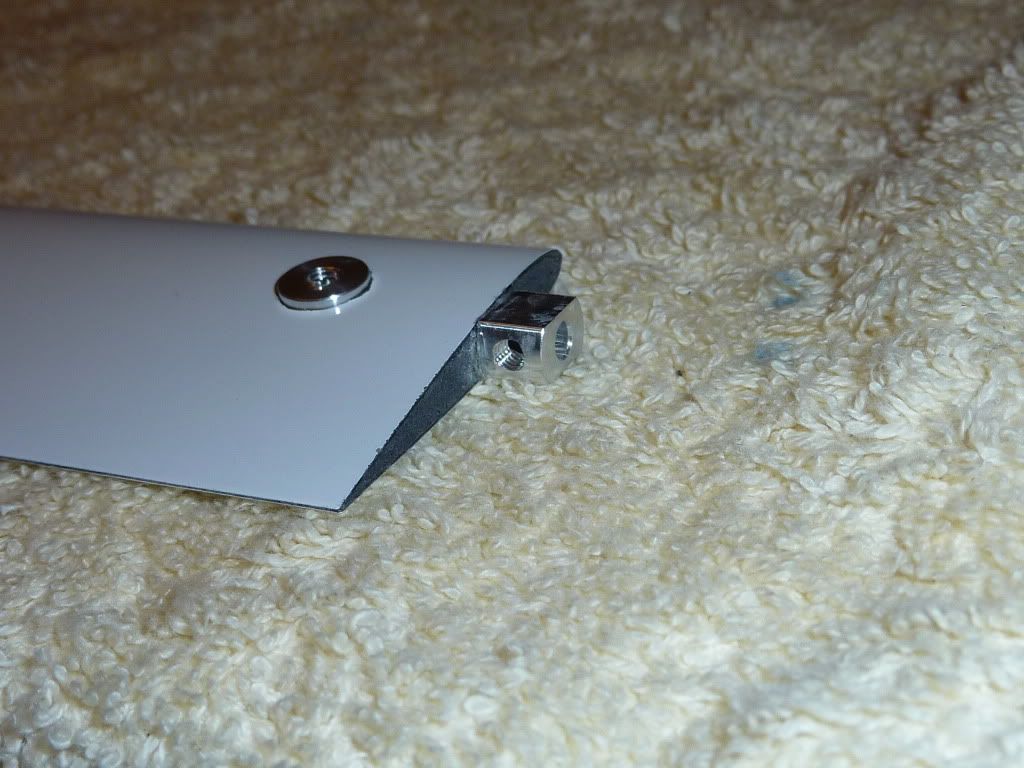
The flybar paddles are Tiny!!!!
Held in by a couple turns and two grub screws. One at the front on the side and on the top.
My standard Hurricane ones weigh in at 18g, KBDD 50 size were 19g off memory.
These are 8 grams!!!!!. Might as well just have the flybar LOL.
We'll have too see how they go.

What's in the box???
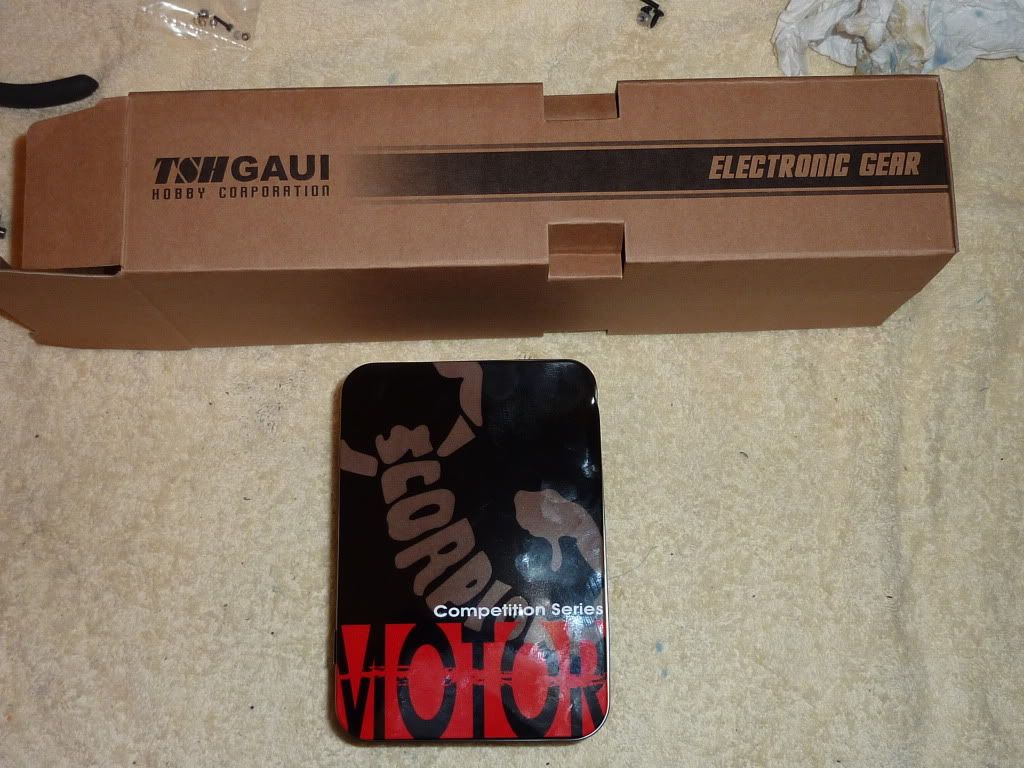
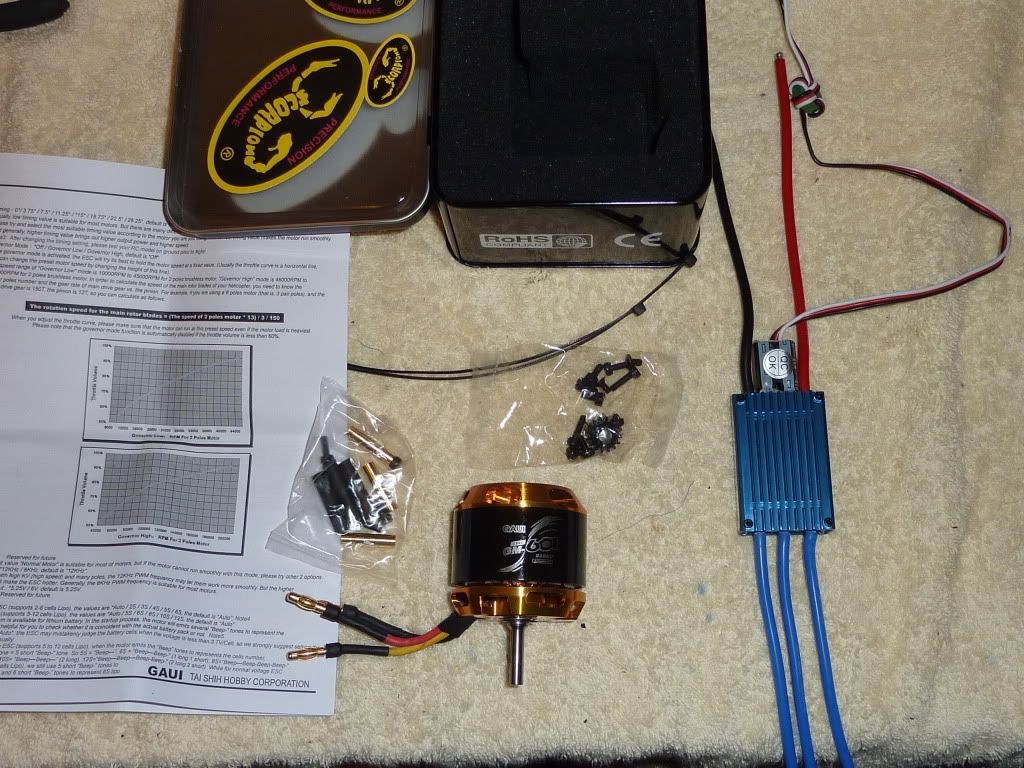
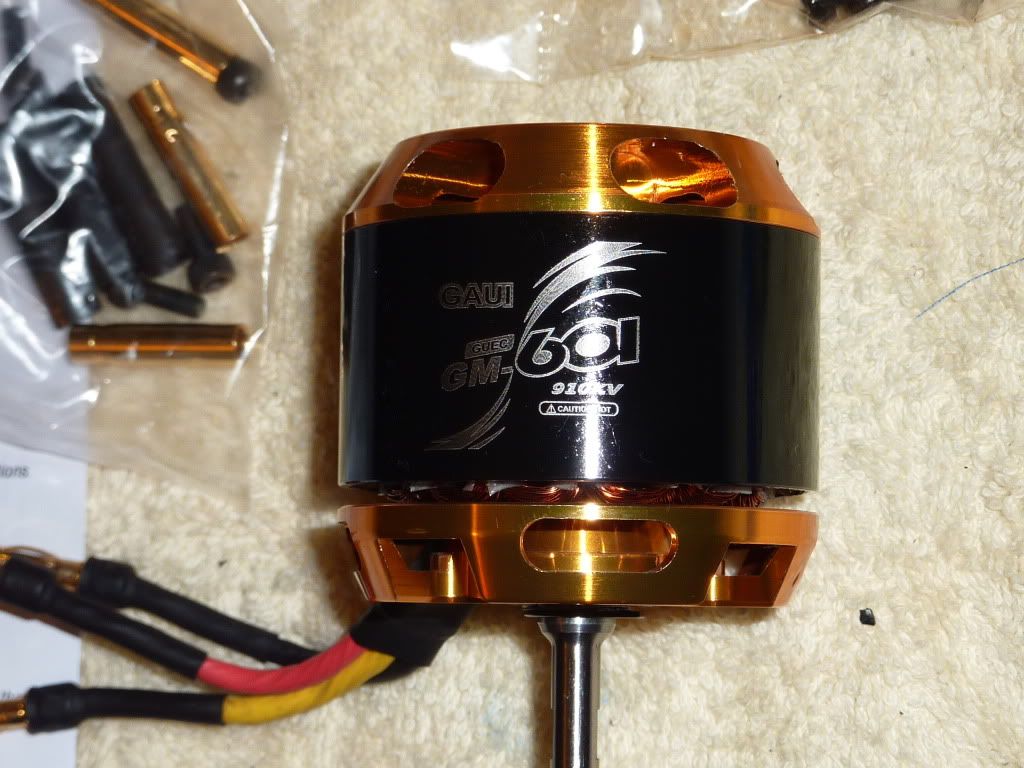
Scorpion 4020 910kv..... yippee
Tonight has been a bit difficult to get time to continue the build. Wife and little boss both with the flu and needing time/looking after devoted to them.
Along with the little boss deciding that i was having too much fun with the X5 and if she went to sleep would miss out so decided to refuse her bed till wayyyyyyy too late.
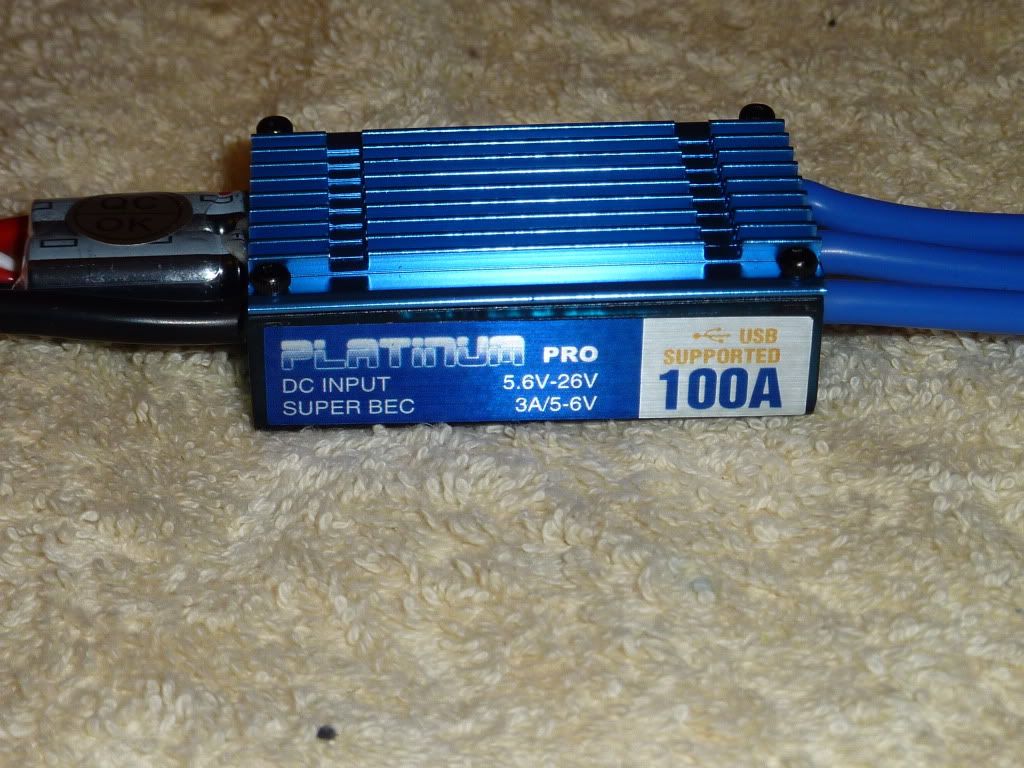
Admittedly my work was inspected and i was brushed aside and the cheif quality control officer took over. Managed to get the motor mounted and speedy mounted and the ccpm sorted.
What's that loose screw??
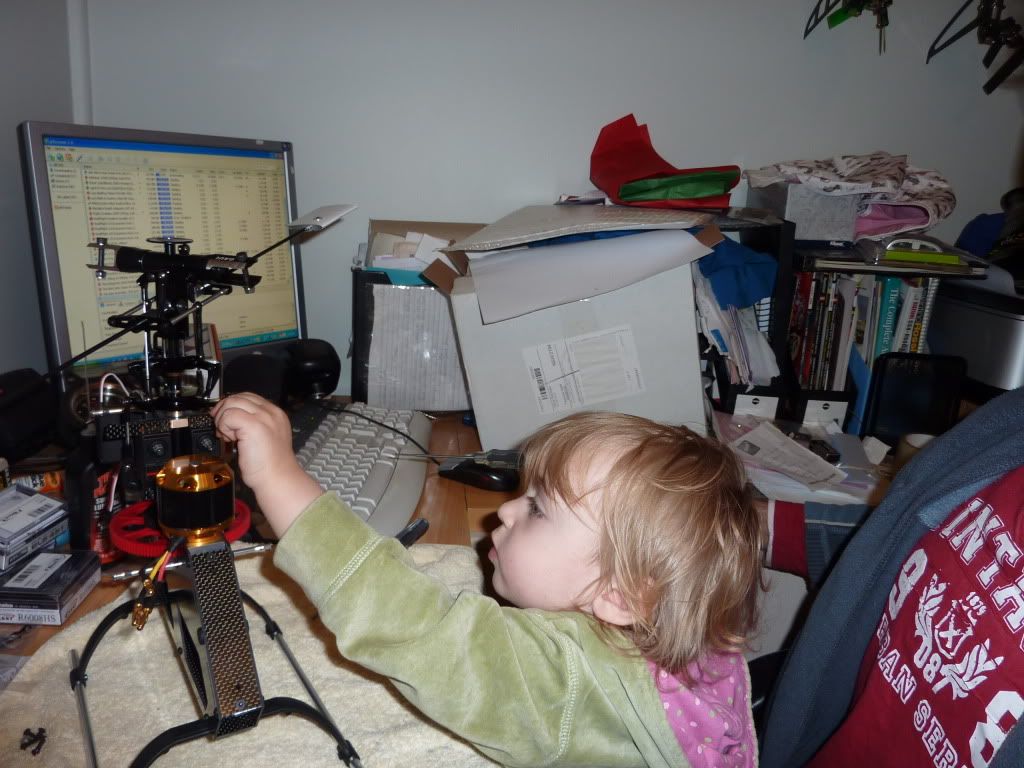
I got the sack

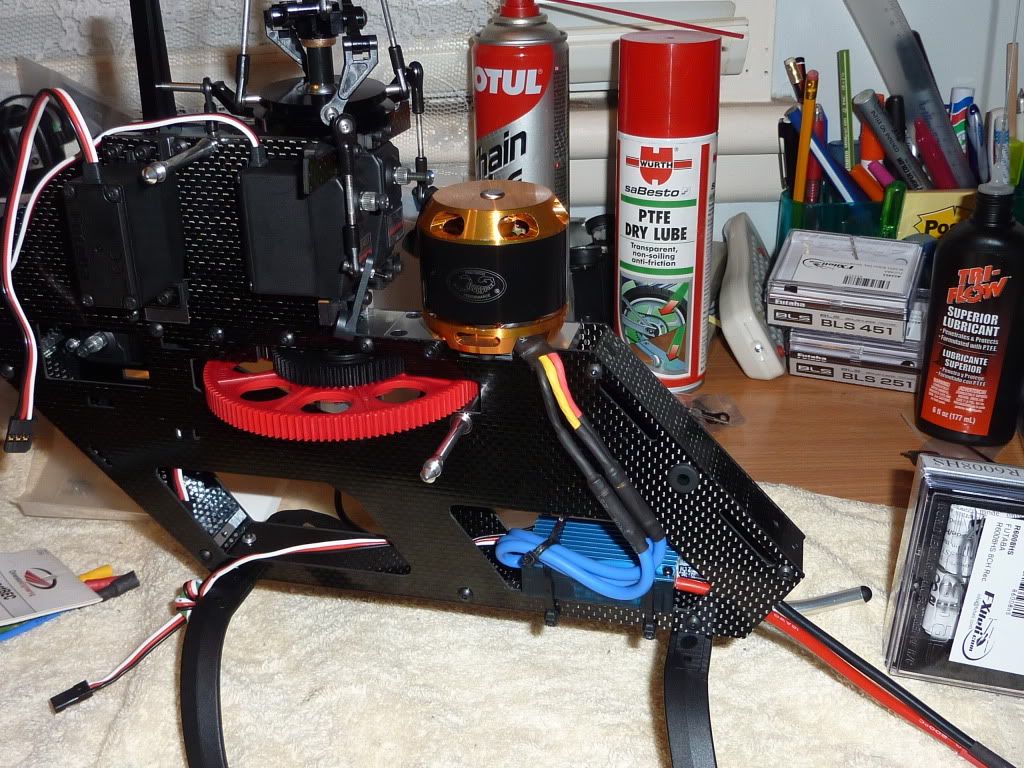
Pic of motor mount. The way the motor is screwed onto the mount, you can't get to the screws with the mount in the fuselage.I'm a bit disapointed with this bit. It was the same in the Hurricane. There are aftermarket adjustable motor mounts for the Hurri and really would have liked to see one on this.
To set the mesh requires having the motor screwed but moveable to the mount and trial and error. Took me six attempts to get the mesh as i wanted. It's really not that hard to do,but could be easier imho. The only real negative will be from impatient people that get frustrated after a few attempts and do the "she'll be right" and then have gear issues.

Motor and speedy in their new home
Had a bit of time this morning so decided to do the tail assembly.
What's in the boxes
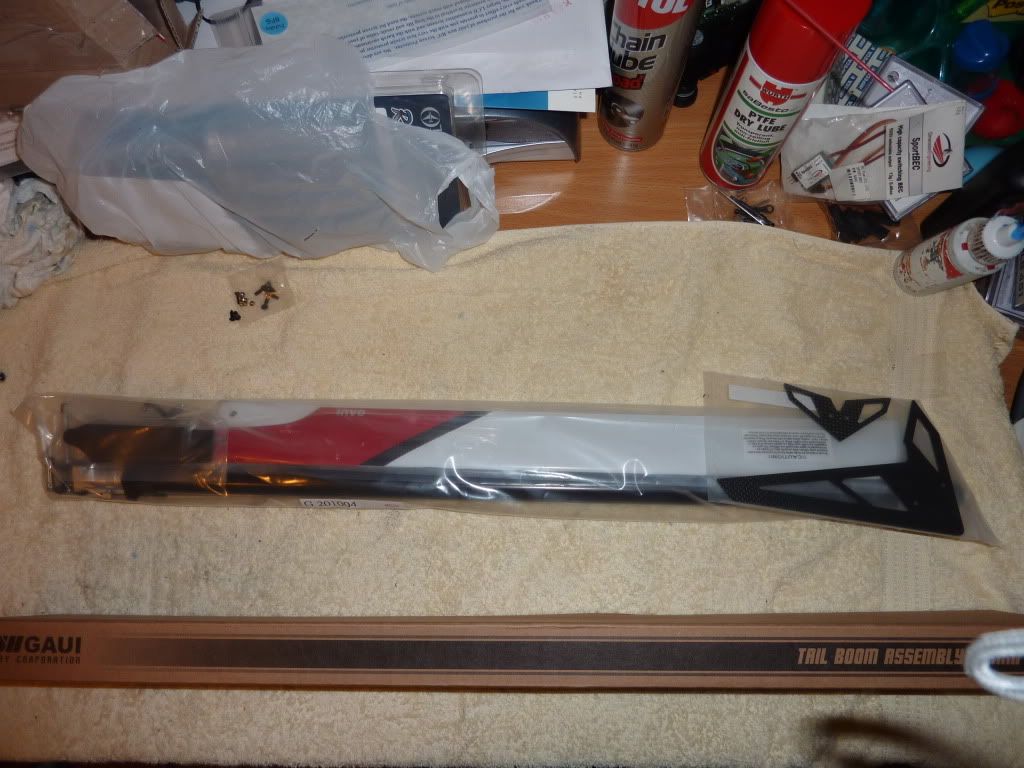
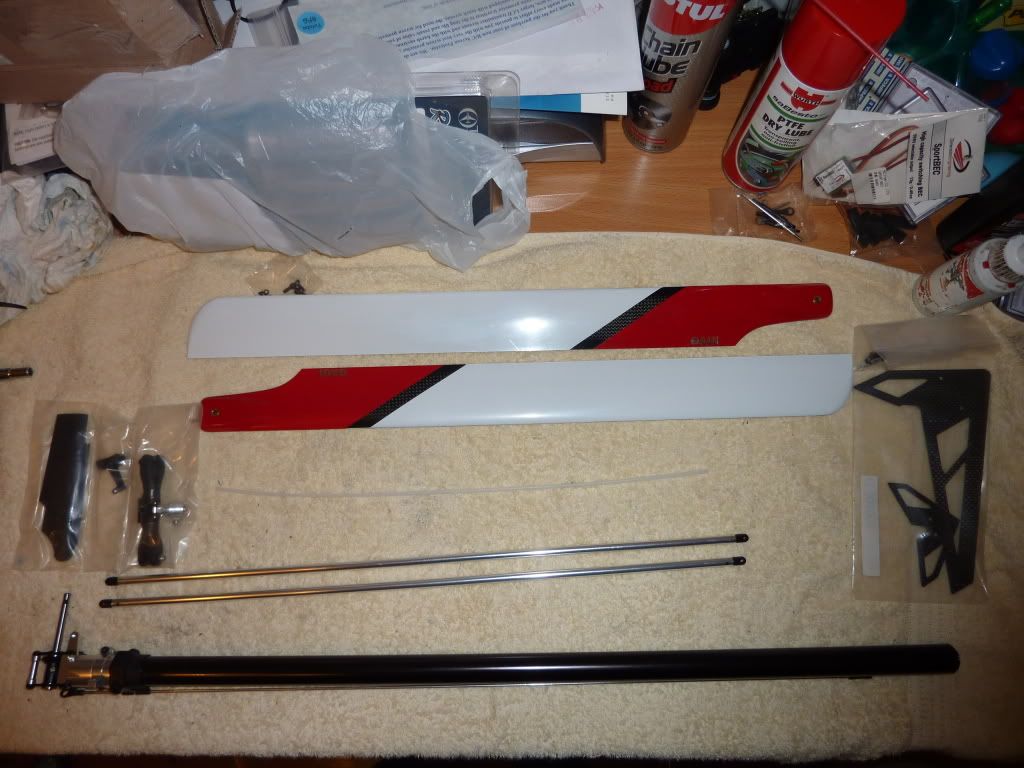
Parts out of the bag
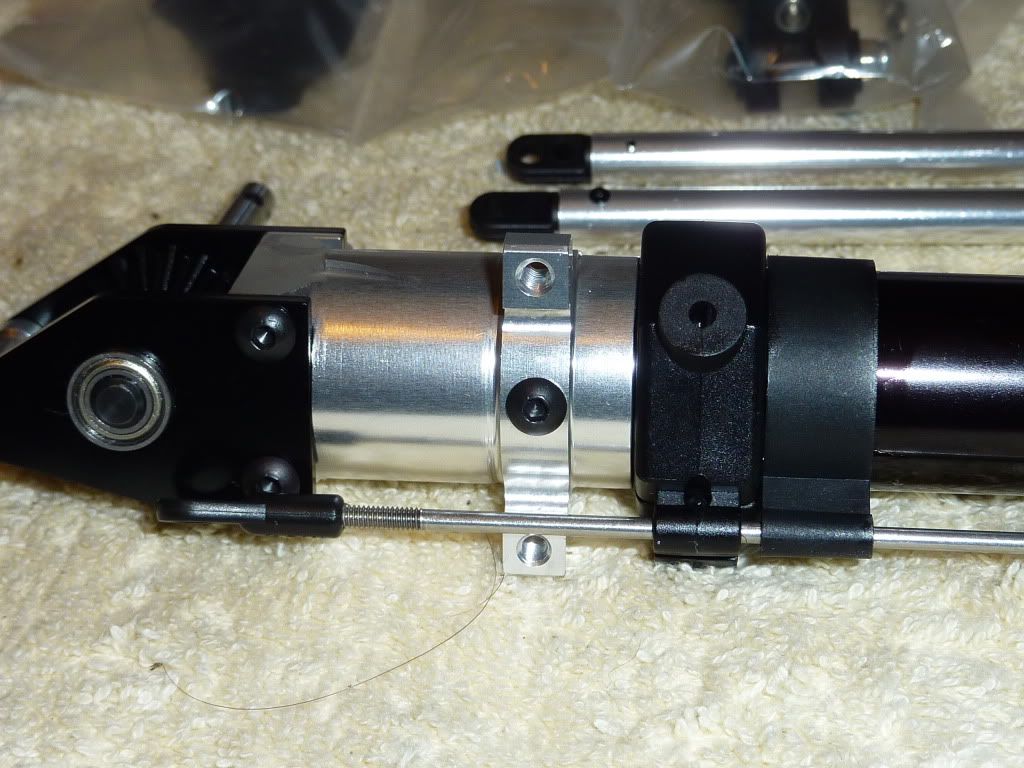
Boom comes pinned with a 3mm bolt
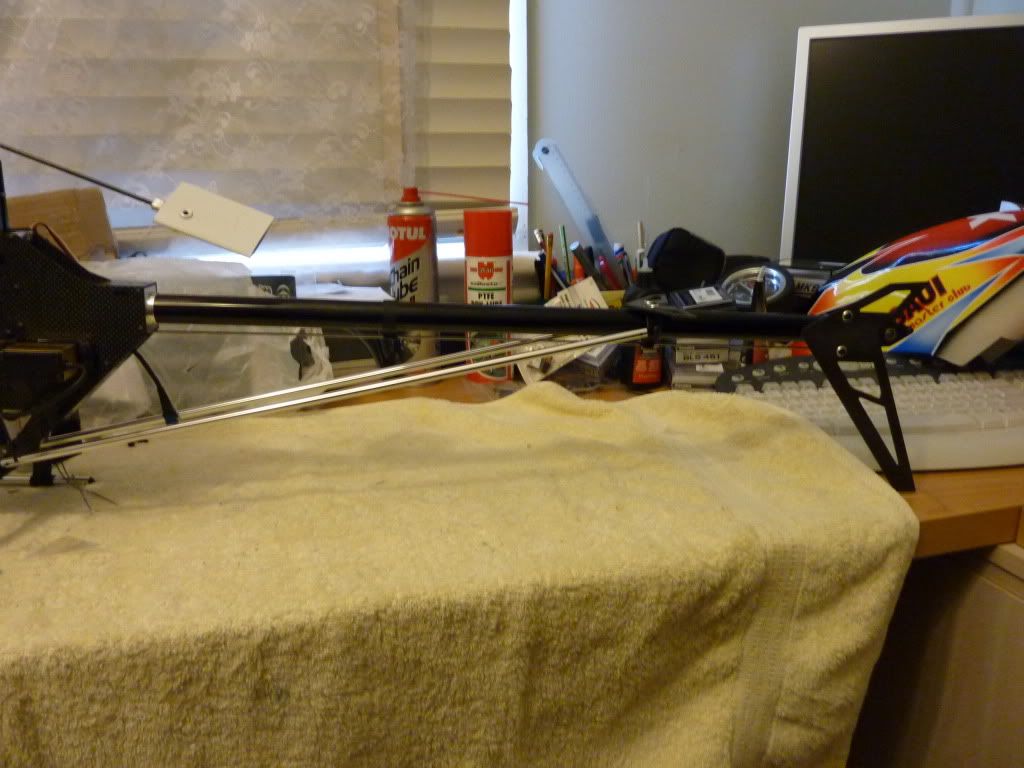
I do like the chrome tail supports.Shiny,shiny
I originally thought they were the same as used on the Hurricane but these are 90mm longer.
An issue i had since completing the frame was 2 self tapping screws left over. I could not see anywhere for them. Found out they are for the boom supports!!
Everything so far had been packed with their relative parts etc and these two screws had me thinking i'd missed something.
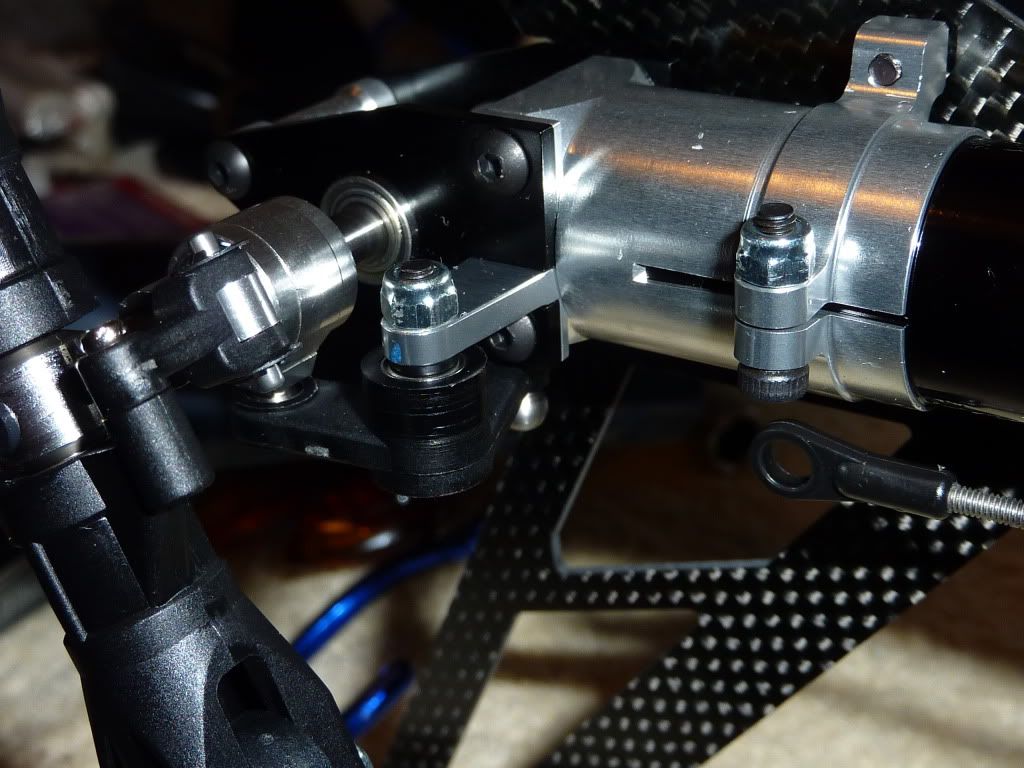
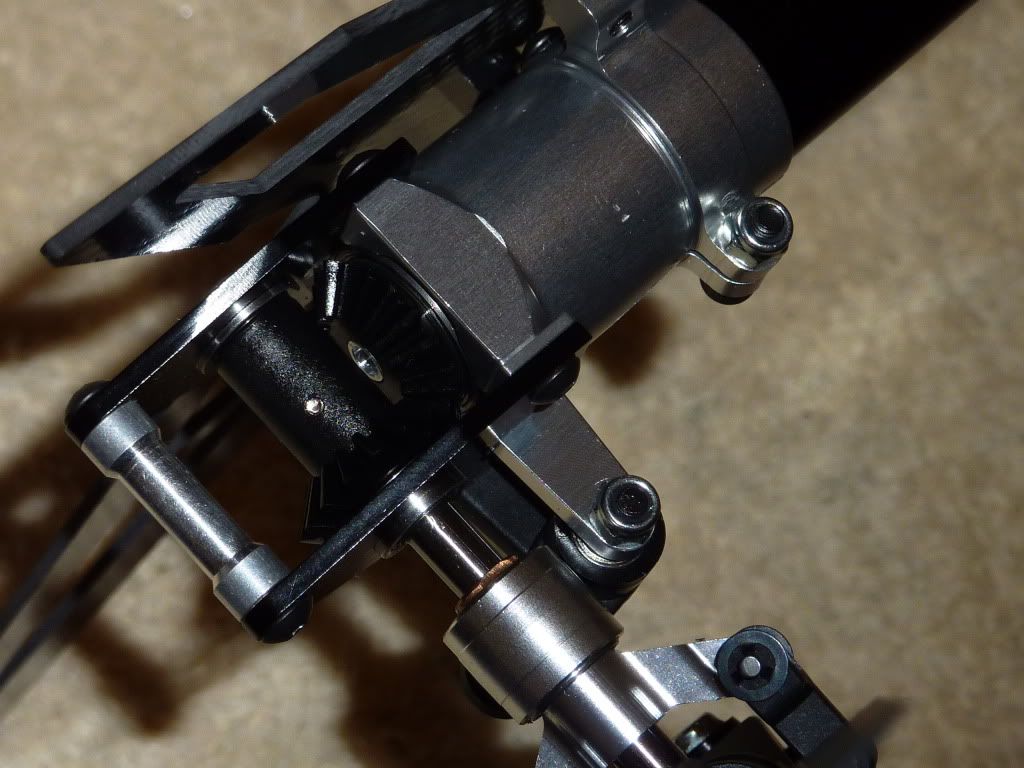
One thing i really like is the tail/hub grip assembly. Very different from previous Gaui's. The hub is more solid and the grips are now held in via a nut,not the screw like earlier ones. Double radial and thrust bearings in them. All my fleet will have these assemblies from now on.
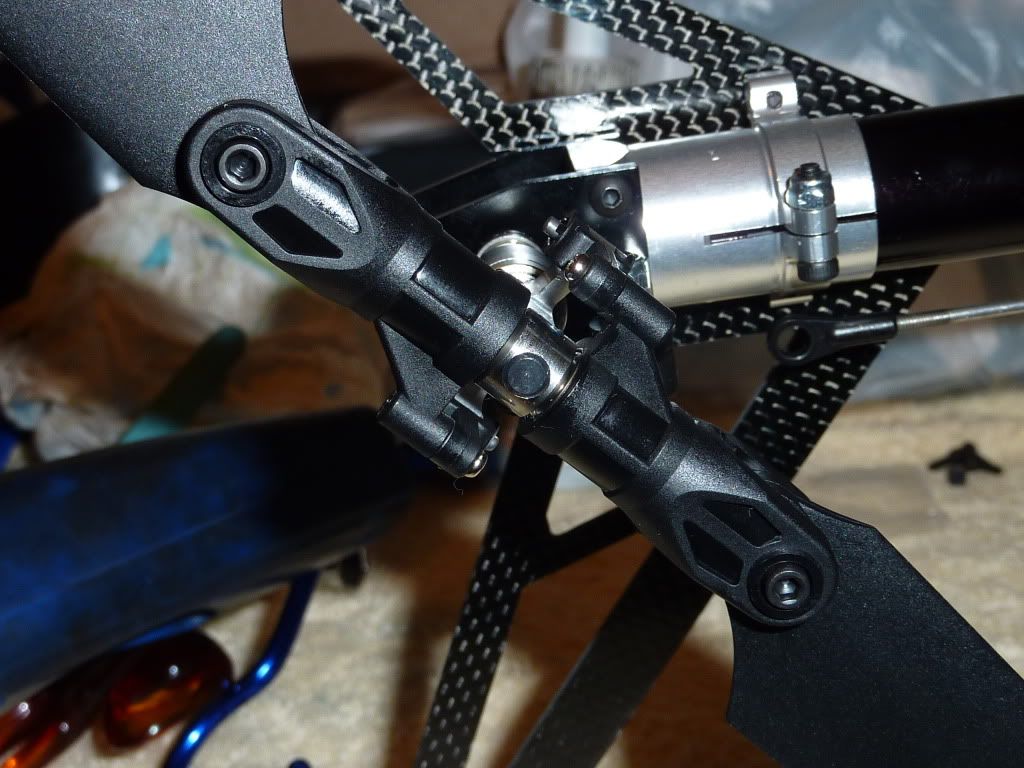
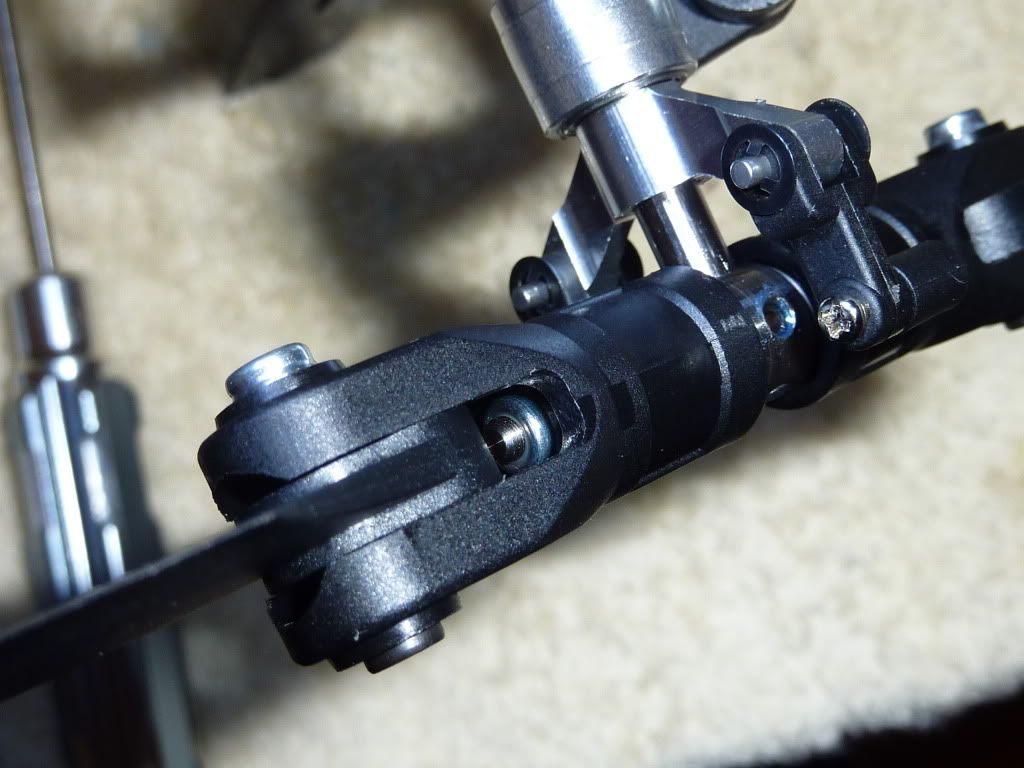
Also like the fact that even though the bolts screw into threads in the housing, Gaui also puts nyloc nuts to be certain they aren't coming out.
[/COLOR]So i put her clothes on for a trip down to field this afternoon to have it looked over.But before i put the main blades on i had to have a chuckle at the sticker on the packet.
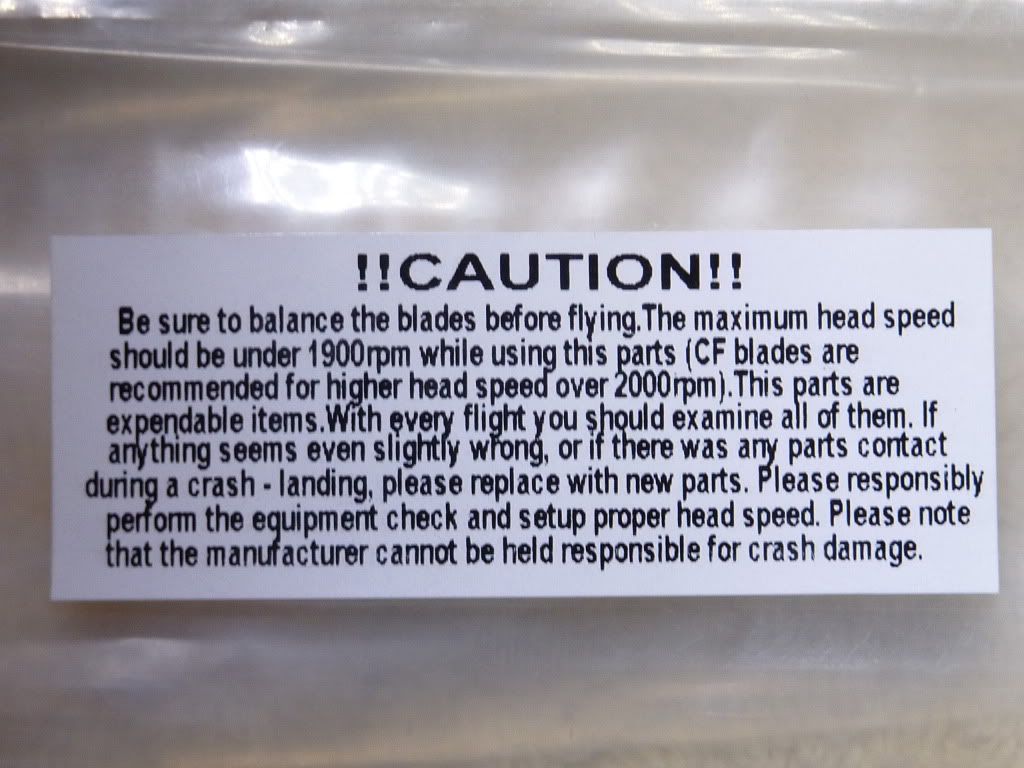
1900??? umm don't think so It is the same sticker that comes on the woodies.
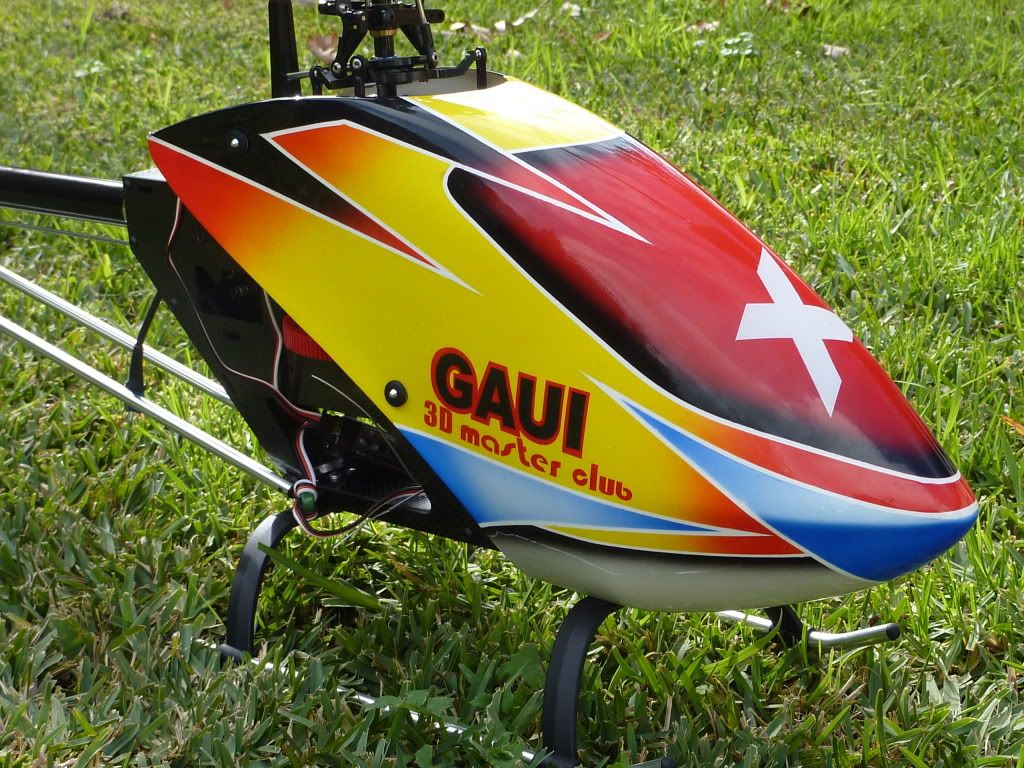
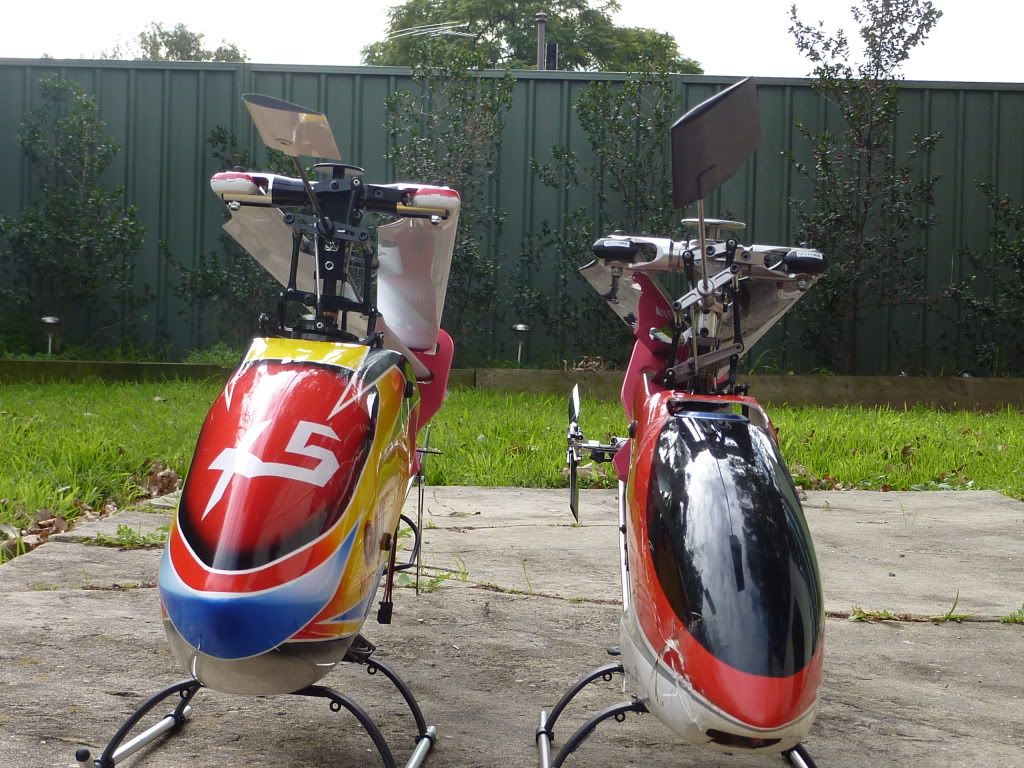
I like the canopy....alot. Compared to the older low profile/long Hurricane ones i'm used to, this has a gorgeous shape. The glass is quite sturdy, not much flex.
Paint work is good in my opinion. Not blingboy but more than reasonable. Looks like some stickers have been splaced on it and then the whole thing covered in clear. Also the whole heli has a bigger look.
Did i mention i really like the look
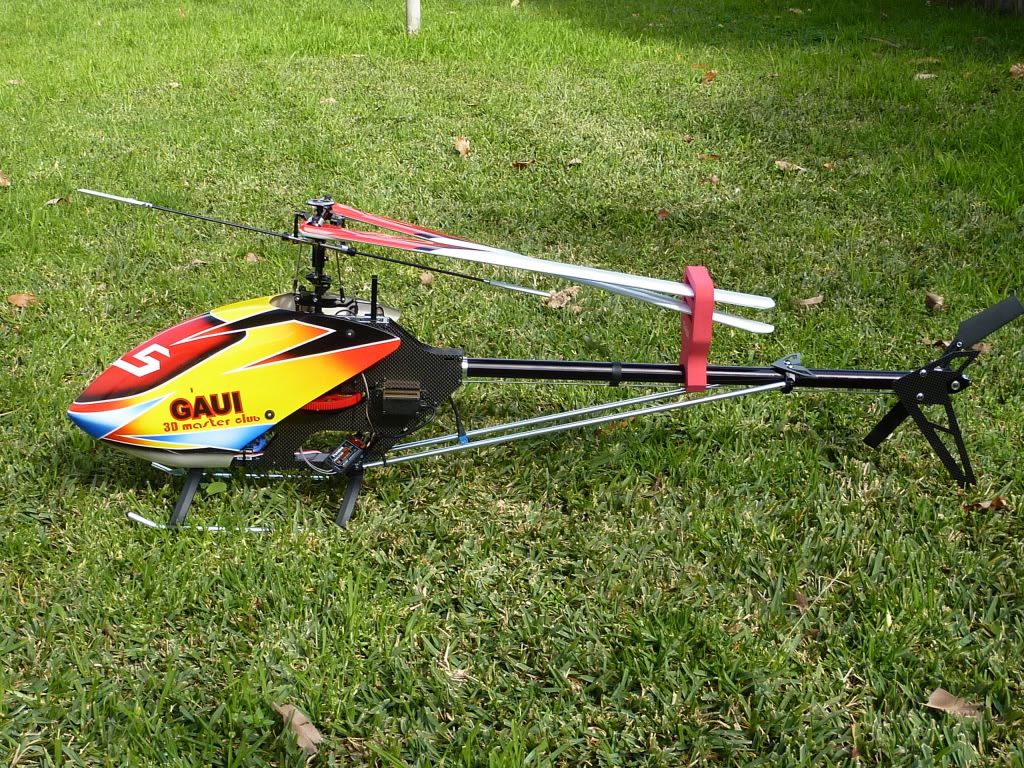
The two meet.
The X5 is about 15-20mm taller.
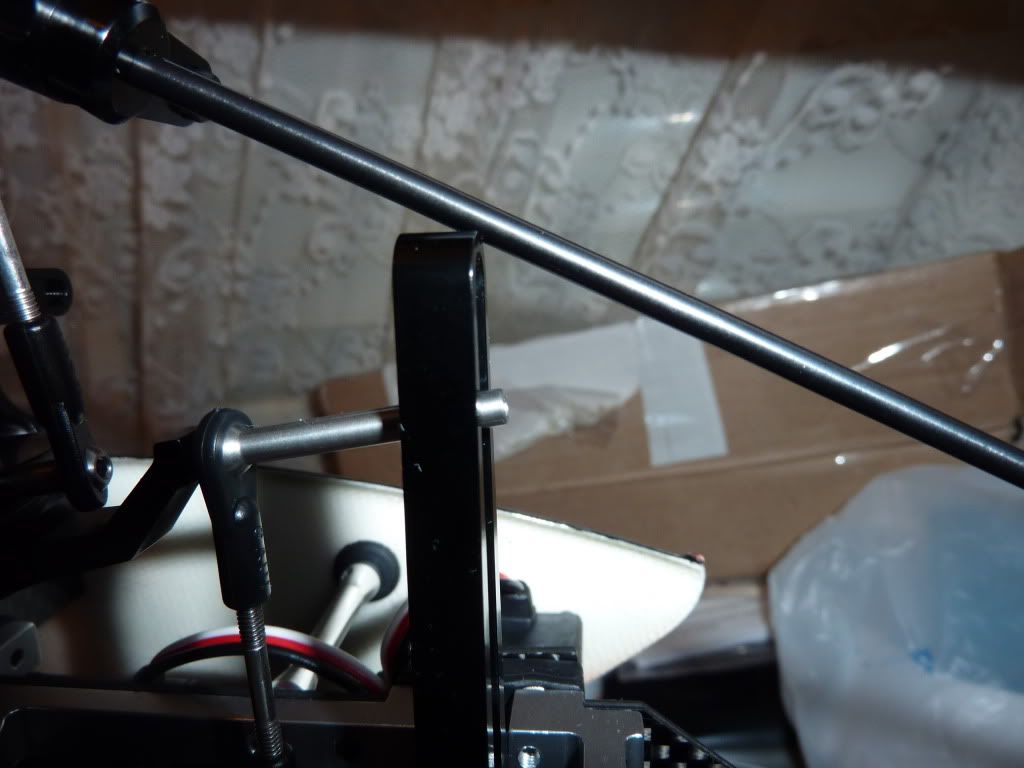
Pic of flybar touching the anti-rotation bracket.There is ALOT of travel range for the flybar and i also think in flight, this would most likely never get to the point of touching. If it did, it was so minute, chances are it would just skim off the the top but then who knows.
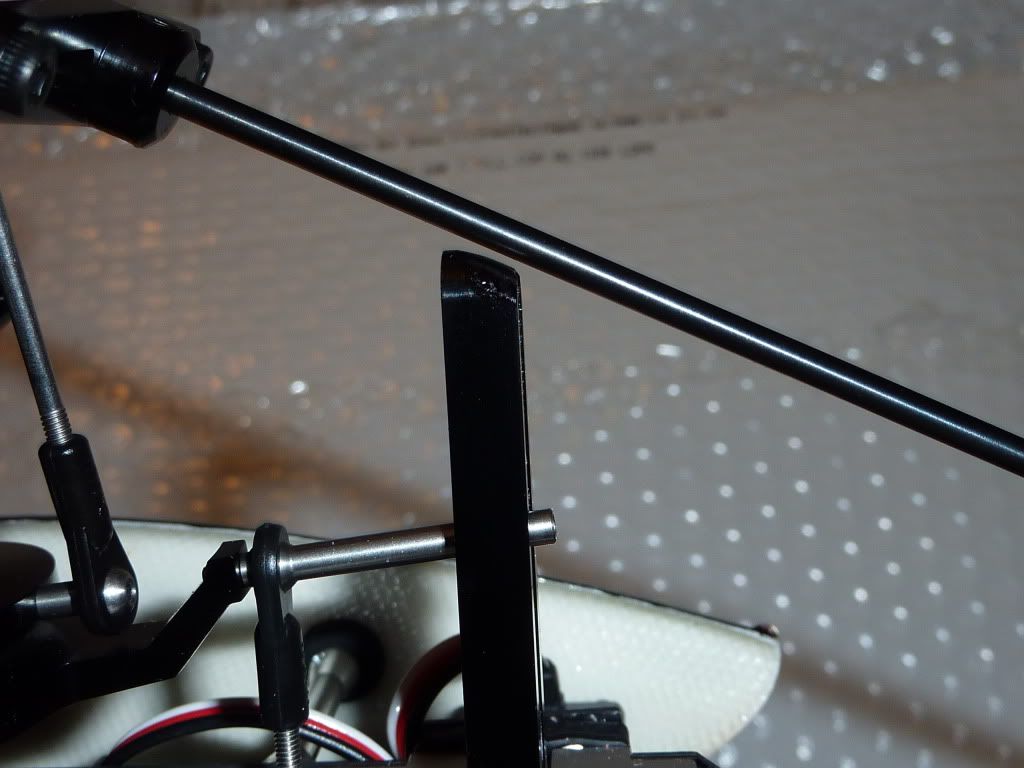
And after 30 secsonds of vasification with the dremel. Now all is good:D
Yes i'm a fussy bast**d
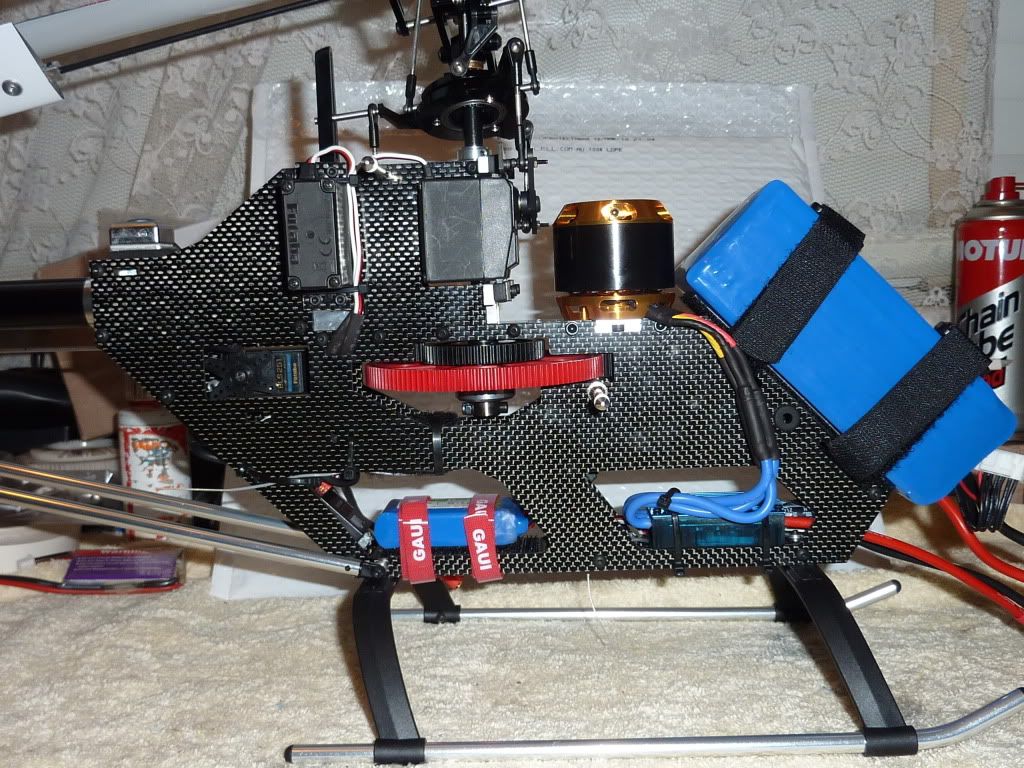
Well i really made my life a bit difficult in this section.
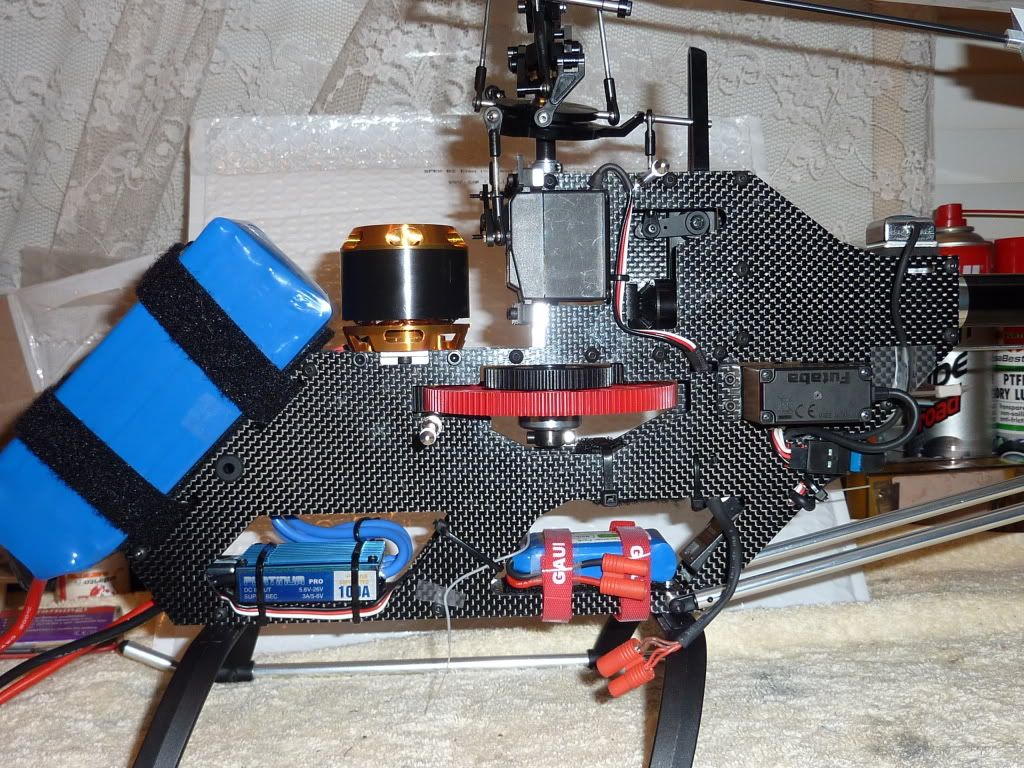
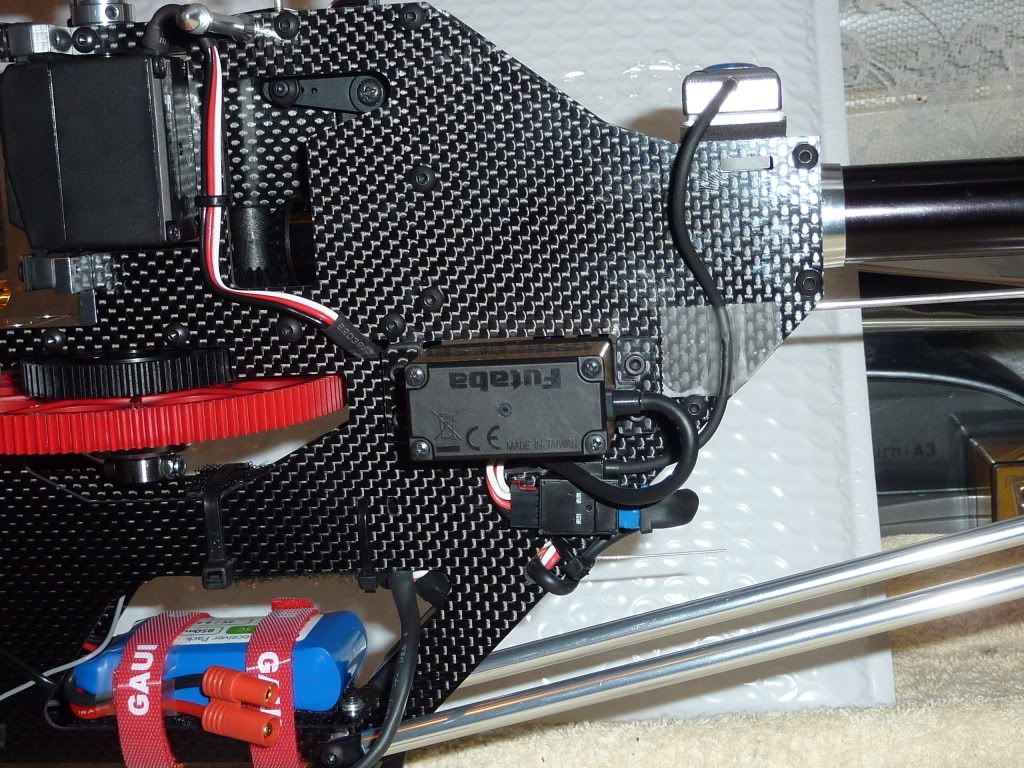
GY520 with it's little lead and that junction box!!! A hyperion Life 850mah receiver batt and a Spektrum VR5203 regulator. Combined with short futaba servo leads, super long futaba Gy520 receiver to junction box leads made it fiddly but i think we got a solution. There is a fair bit of room at the very rear of the heli that helped get everything tucked away.
If i used the bec, a quark and the servo leads were 50mm longer would've been a walk in the park.But all these extras are my fault not the heli's.
Also notice that Gaui have been very thoughtful in this area. Numerous slots in the frame and even holes placed closely for use of cable ties. A bit hard to see in the pics, but the holes are the same on both sides.
I could have hid the ESC to motor wires but i fiddle too much.
Other side
Futaba R6008HS between frames and Spektrum reg at rear.
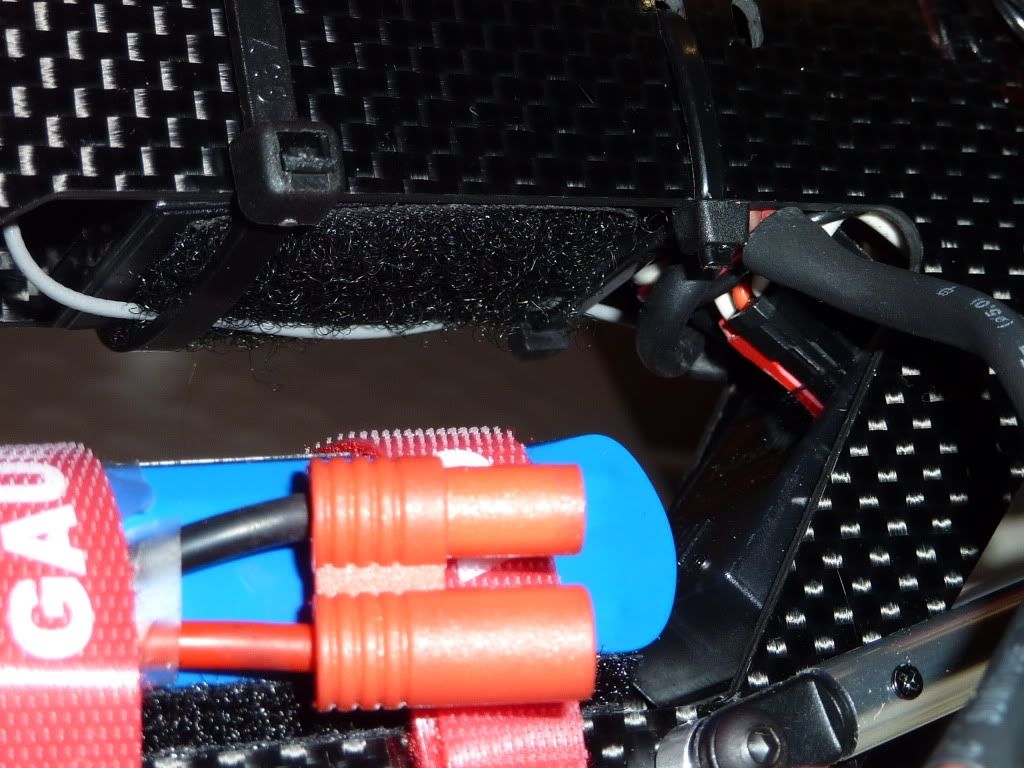
GY520 junction thingie!!! But hopeflluy the slots in the frames are able to be made out.
Ready to fly weight just 2.7kg. Batt Hyperion 6S 4200 comes in at 680g.
So that's it. Just a few radio settings to sort and to fly. My face is already stuck like this:D
For me it's been an enjoyable build . I might be alittle biased but have been genuinely impressed with the quality. The flybar/anti-rotation bracket is the only issue i can see.
The heli looks quick sitting on the bench, i am feeling a bit intimidated but i have a feeling it's going to be a load of fun.
Hope everyone has enjoyed the build thread. I very much enjoyed doing it.
Any questions ,please yell out and i'll answer as best i can
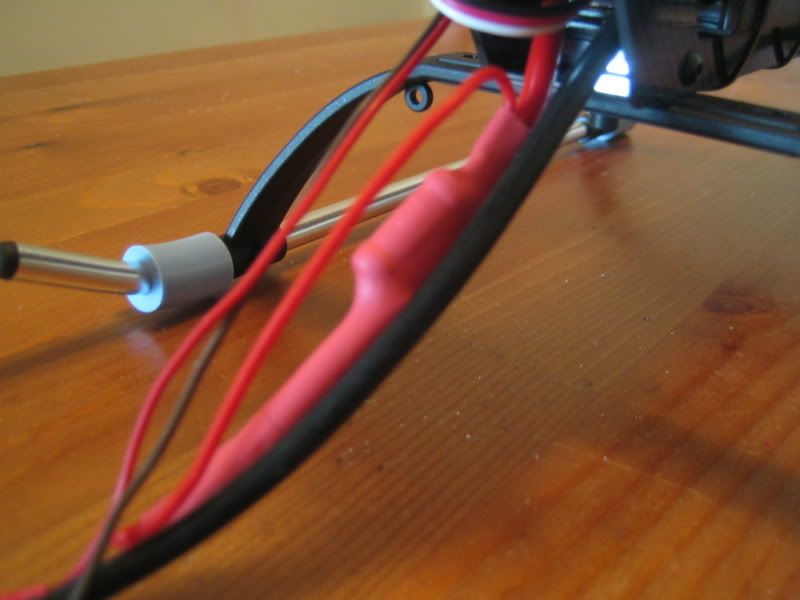
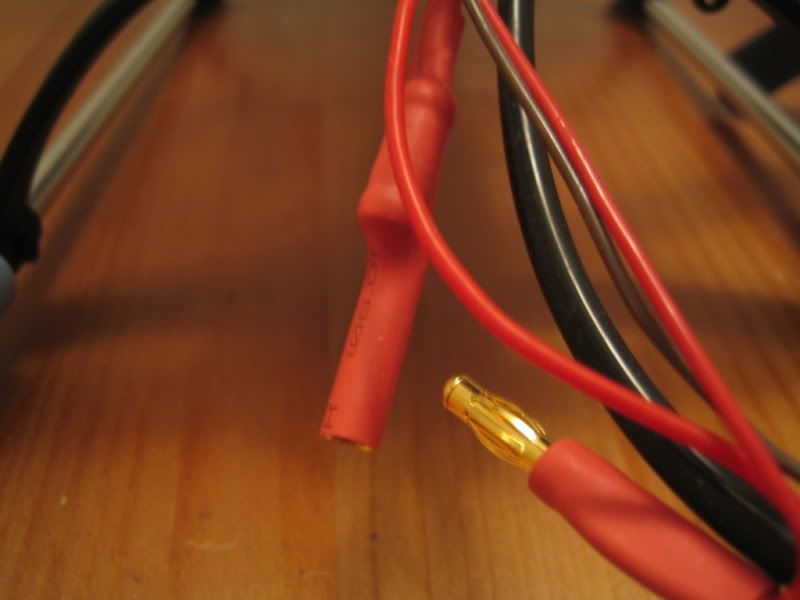
Just a little update that was a result of a query about a bulge in the positive wire going to the ESC.
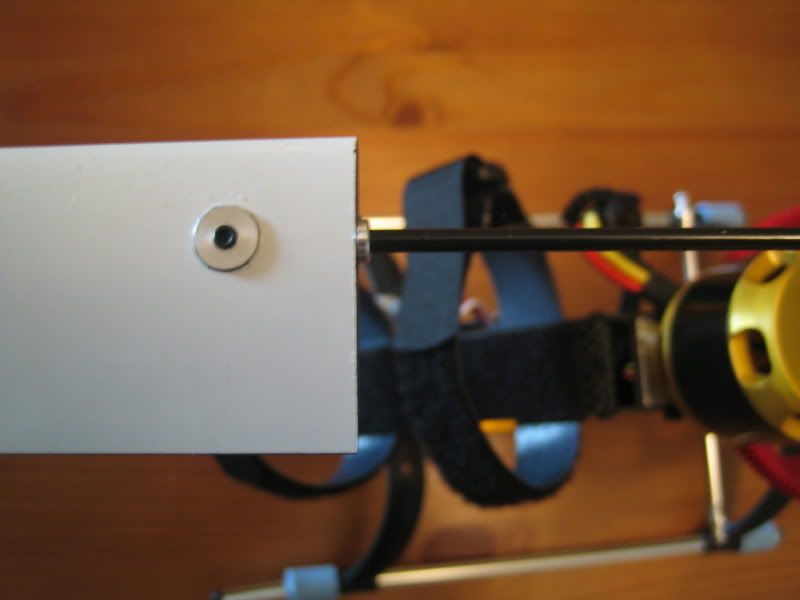
Looks like Gaui are fitting kits with built in spark arrestors and also the new kits have gold coloured speedies. Flybar paddles have changed slightly and now screw on further and with one grub screw.
Pics thanks to what-d-heli on HF.
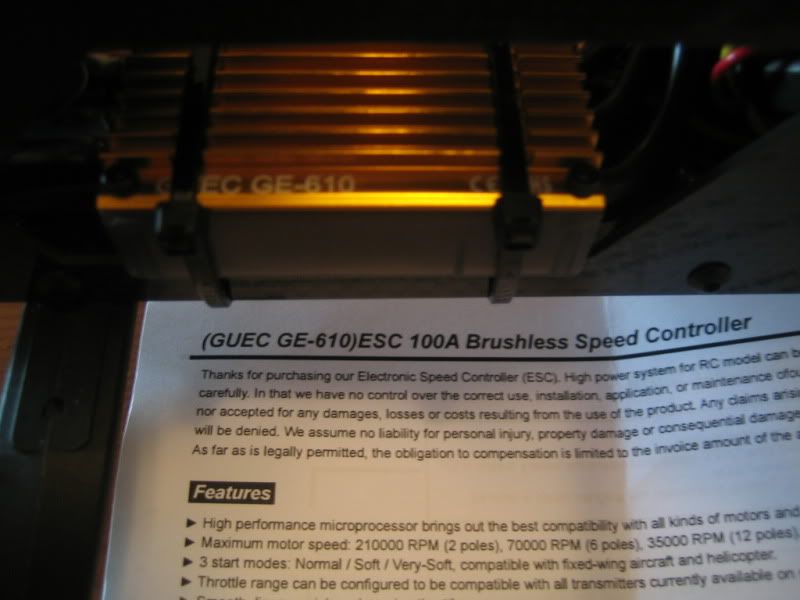
I'll try and keep the updates coming. If anyone has an info to add or any questions, please do ....
BTW.... there is a side effect to flying the X5
Your face ends up being stuck like this ;D ;D ;D ;D
Vas
Enjoy and please if any questions, just yell out.
....................................................................................................
Been sweating on this for a while and finally it's here.
Huge thanks to Empire Hobby for their terrific effort in
getting a pre-release kit sent to Oz. Feel very proud to be one of the first
to have these. It is nice to know that we down here mean as much to the
manufacters as the other parts of the globe.
Will start the build tonight and try to document as well as poss.
I will be editing this post as new pics/info etc come along.
Most likely will be going over bits and writing more, so keep checking here.
For now, some pics of the box
 Very happy chappy today


A few "What's in the box pics"
I must say that i'm very impressed with the presentation of this. Nicely
fitting sub-boxes all printed with what's inside

The instruction manual was sitting right on top. ie read this first!!
They are trying to take my fun away


The bag bits unlocked.

The CNC work looks quite nice. Very smooth and neat.
I'm not sure about the motor mount.Looks like they stayed the way of the
Hurricane and can be a bit fiddly to set mesh. Requires the mount to be removed to access the bolts for the motor. No biggie,but could have been improved. But i still haven't read the instructions

More to come...... Stay tuned, don't change channels
Putting the frame together was a super simple and very quick affair.Was together in less than half an hour.(with coffee)
Even the wife commented on how quick it was...... something like, you won't have to worry about time after your crashes with this...
The instructions are well written but do need some work. Would be nice if the frame assembly pic was larger and easier to work out were the few different bolts went. Again no biggie as most bolts are M3x 6mm , just 2 are 4mm.
Common sense works and is very easy to see one bolt will go into a bearing if too long.
The instructions seem to bounce around. No real order. If you are up to a certain spot, need to flick through the
manual to find what you are seeking.
Also noticed a little piece of paper in with the bolts. An ammendment to the manual regarding a washer for the lower canopy mounts.
The manual does state on the front cover to download the latest version.
Also in my travels, i noticed that not all bits in frame box are for the frame(as i thought and got concerned when a few screws were left over) and needed to open other boxes to find required bits.Obviously packing requirements have dictated the spread of parts throughout the various boxes.
Pic of cnc bits mounted to one side frame

Pic of landing gear assembly.

The actual legs are the same as the Hurri 550,but now only use one bolt per leg to mount to the lower frame.

I do like the chrome skids and think they will be replacing all my others.To replace the landing gear in the future would just require the removal of 2 bolts and out it comes. I'm really liking the base of this heli.The double carbon keeps it very rigid, there are no tabs etc waiting to break, and from experience, the legs will give way in hard landings lessening the load to the frame.
The manual states to put the landing gear together first, then mount to the main frame. I did for the pics but originally did the lower frame/main frame together and found it less fiddly.
Completed main frame and landing gear about to meet.

To say this frame is thin is an understatement.
It really has been a very low parts count in the frame assembly and it weighs almost nothing
 [
[The main gear/ head assembly.

The maingear/tail drive/one-way came preassmbled. 3 screws hold the 61tooth tail drive gear(ex Hurri main gear) onto the sleeve that goes through the one-way bearing.

The main gear has 4 screws that bolt to another housing that holds the one-way.
(pics didn't come out i noticed,so will dismantle again tomorrow and take again)
Main gear/shaft assembly bits. The little washer sits on top of the tail drive gear and under lower mainshaft bearing.Collar on top of upper mainshaft bearing.
Mainshaft is solid,8mm diameter.

Installed in the frame.Trick here is to make sure no up/down movement when tightening the collar


Moving onto the head assembly.
Having been used to the Hurri 550 head and sizing, all i can say is WOW.
The swash on the left is the X5 ,right Hurri 550.
The X5 swash certainly looks the goods and has a nice feel .

All the balls have 1.5mm allen key heads in them and were tight and pre-locitited.
The head came pre-assembled but i took it apart for check.
The spindle is 6mm, and the dampers are cylinder shaped.
There were "red" dampers installed but i noticed in the packs that there
is a black set. Doesn't mention it in the manual as what's what.
I have left the red in there for the time being.
Also the bolts that hold the blade grips onto the spindle are larger than previously.Everything was tight and loctited.
The spindle on the right is Hurri 550(5mm)

The flybar carrier was next. This was another with the little piece of update paper.(washer installation behind bolt head).
In my previous Gaui builds, i have had issues with bearing quality. These feel terrific and the bearing sit in the headblock.

Flybar cage, washout arms/flybar installed

Looks like Gaui have been watching people's tricks in increasing pitch and avoiding binding. Different to see the flybar visible through the seesaw.

edit: the red dampers are 95's and the black are 75's in hardness
Again we see Gaui using the solid plastic double links. Two sizes. A 30 and a 35. Some people i've come across don't like the double link and say they prefer adjustable ones to help get the setup correct.
In my opinion they are great. One less variable to worry about and if you need adjustment in these areas, hate to say but you would have an issue somewhere else that is causing it.
I do like that Gaui include a spare link of each size, spare rods and ball links,guide, bolt.

The servos chosen for this build are the BLS451/251 combo. Included in the kit are 3 servo horns(luckily futaba spline), balls,nuts and bolts and assorted little spacers to get the balls spaced correctly.
Also carbon servo retaining plates.The top plates extend out.I'm guessing for a little added protection and to keep the canopy from rubbing on the servo horn.
I've never been a fan of servos out in the open and have looked at possible crash damage. The aileron/pitch servos are fairly well hidden. The elevator and tail are fully extruded. Looking at it closely though, it really would have to be the perfect angle and a few things bent(ie really really hard stack) for them to see damage. One of those we'll have to see things.


The flybar paddles are Tiny!!!!
Held in by a couple turns and two grub screws. One at the front on the side and on the top.
My standard Hurricane ones weigh in at 18g, KBDD 50 size were 19g off memory.
These are 8 grams!!!!!. Might as well just have the flybar LOL.
We'll have too see how they go.


What's in the box???


Scorpion 4020 910kv..... yippee


Tonight has been a bit difficult to get time to continue the build. Wife and little boss both with the flu and needing time/looking after devoted to them.
Along with the little boss deciding that i was having too much fun with the X5 and if she went to sleep would miss out so decided to refuse her bed till wayyyyyyy too late.
Admittedly my work was inspected and i was brushed aside and the cheif quality control officer took over. Managed to get the motor mounted and speedy mounted and the ccpm sorted.
What's that loose screw??

I got the sack

Pic of motor mount. The way the motor is screwed onto the mount, you can't get to the screws with the mount in the fuselage.I'm a bit disapointed with this bit. It was the same in the Hurricane. There are aftermarket adjustable motor mounts for the Hurri and really would have liked to see one on this.
To set the mesh requires having the motor screwed but moveable to the mount and trial and error. Took me six attempts to get the mesh as i wanted. It's really not that hard to do,but could be easier imho. The only real negative will be from impatient people that get frustrated after a few attempts and do the "she'll be right" and then have gear issues.

Motor and speedy in their new home

Had a bit of time this morning so decided to do the tail assembly.
What's in the boxes

Parts out of the bag

Boom comes pinned with a 3mm bolt


I do like the chrome tail supports.Shiny,shiny

I originally thought they were the same as used on the Hurricane but these are 90mm longer.
An issue i had since completing the frame was 2 self tapping screws left over. I could not see anywhere for them. Found out they are for the boom supports!!
Everything so far had been packed with their relative parts etc and these two screws had me thinking i'd missed something.
One thing i really like is the tail/hub grip assembly. Very different from previous Gaui's. The hub is more solid and the grips are now held in via a nut,not the screw like earlier ones. Double radial and thrust bearings in them. All my fleet will have these assemblies from now on.


Also like the fact that even though the bolts screw into threads in the housing, Gaui also puts nyloc nuts to be certain they aren't coming out.


[/COLOR]So i put her clothes on for a trip down to field this afternoon to have it looked over.But before i put the main blades on i had to have a chuckle at the sticker on the packet.

1900??? umm don't think so
 It is the same sticker that comes on the woodies.
 I like the canopy....alot. Compared to the older low profile/long Hurricane ones i'm used to, this has a gorgeous shape. The glass is quite sturdy, not much flex.
Paint work is good in my opinion. Not blingboy but more than reasonable. Looks like some stickers have been splaced on it and then the whole thing covered in clear. Also the whole heli has a bigger look.
Did i mention i really like the look


The two meet.
The X5 is about 15-20mm taller.

Pic of flybar touching the anti-rotation bracket.There is ALOT of travel range for the flybar and i also think in flight, this would most likely never get to the point of touching. If it did, it was so minute, chances are it would just skim off the the top but then who knows.

And after 30 secsonds of vasification with the dremel. Now all is good:D
Yes i'm a fussy bast**d

Well i really made my life a bit difficult in this section.
GY520 with it's little lead and that junction box!!! A hyperion Life 850mah receiver batt and a Spektrum VR5203 regulator. Combined with short futaba servo leads, super long futaba Gy520 receiver to junction box leads made it fiddly but i think we got a solution. There is a fair bit of room at the very rear of the heli that helped get everything tucked away.
If i used the bec, a quark and the servo leads were 50mm longer would've been a walk in the park.But all these extras are my fault not the heli's.
Also notice that Gaui have been very thoughtful in this area. Numerous slots in the frame and even holes placed closely for use of cable ties. A bit hard to see in the pics, but the holes are the same on both sides.
I could have hid the ESC to motor wires but i fiddle too much.

Other side

Futaba R6008HS between frames and Spektrum reg at rear.

GY520 junction thingie!!! But hopeflluy the slots in the frames are able to be made out.

Ready to fly weight just 2.7kg. Batt Hyperion 6S 4200 comes in at 680g.
So that's it. Just a few radio settings to sort and to fly. My face is already stuck like this:D
For me it's been an enjoyable build . I might be alittle biased but have been genuinely impressed with the quality. The flybar/anti-rotation bracket is the only issue i can see.
The heli looks quick sitting on the bench, i am feeling a bit intimidated but i have a feeling it's going to be a load of fun.
Hope everyone has enjoyed the build thread. I very much enjoyed doing it.
Any questions ,please yell out and i'll answer as best i can

Just a little update that was a result of a query about a bulge in the positive wire going to the ESC.
Looks like Gaui are fitting kits with built in spark arrestors and also the new kits have gold coloured speedies. Flybar paddles have changed slightly and now screw on further and with one grub screw.
Pics thanks to what-d-heli on HF.


I'll try and keep the updates coming. If anyone has an info to add or any questions, please do ....
BTW.... there is a side effect to flying the X5
Your face ends up being stuck like this ;D ;D ;D ;D
Vas


